Soft, spiced cookies with a creamy cream cheese filling — these pumpkin whoopie pies are an easy, portable fall dessert everyone will love!
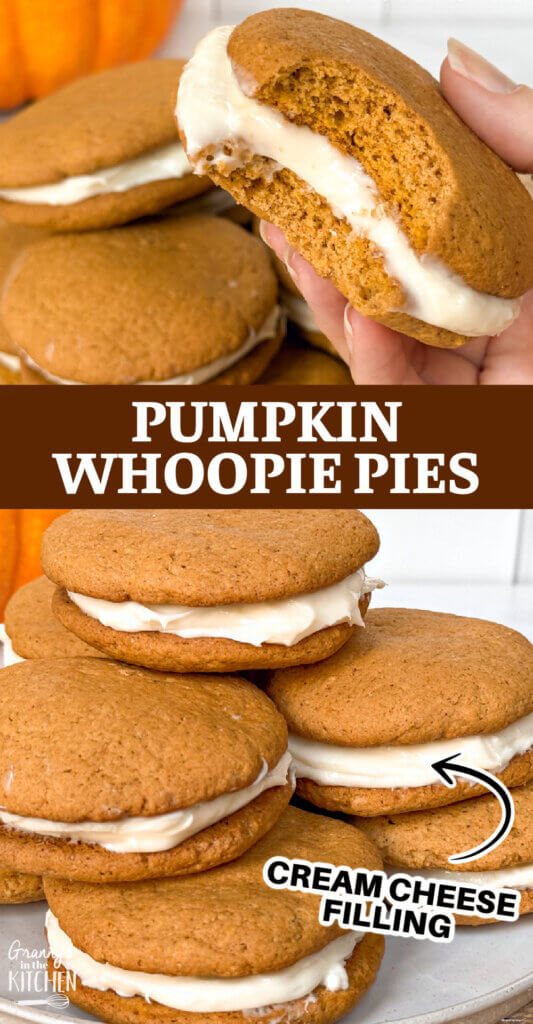
Pumpkin Whoopie Pies
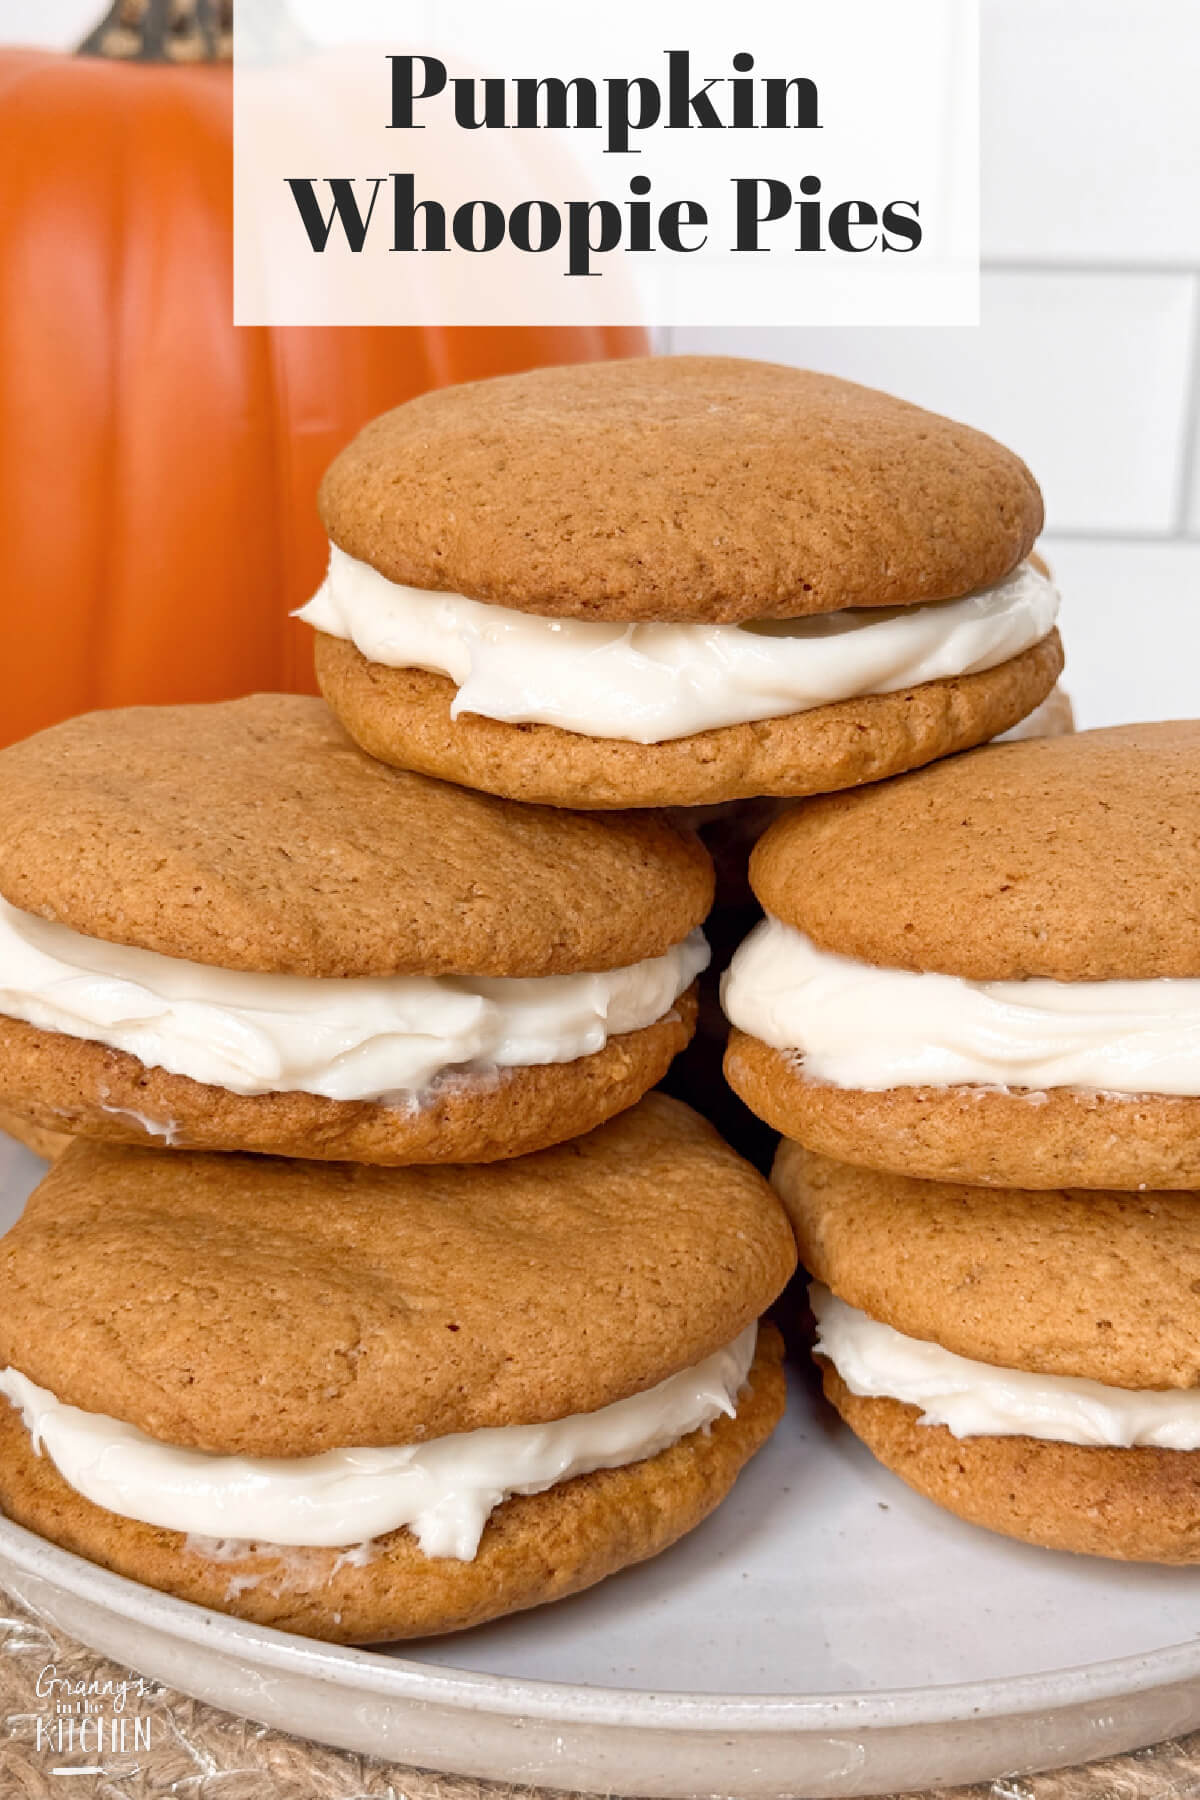
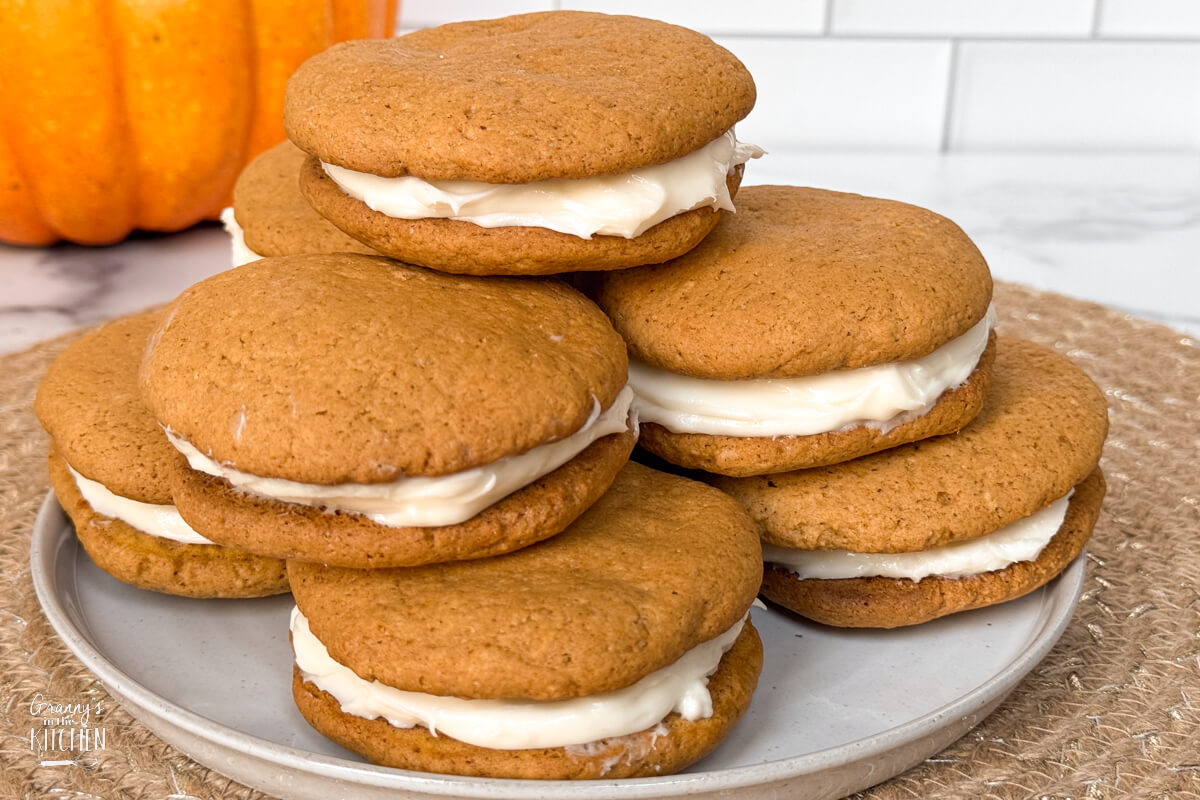
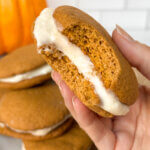
Here is an autumn take on the American classic dessert, Whoopie Pies. Instead of the traditional chocolate cake-like cookies, I made soft and spiced pumpkin cookies and filled them with a rich and creamy cream cheese filling. The result? A sweet, nostalgic treat with lots of fall flavor in every bite.
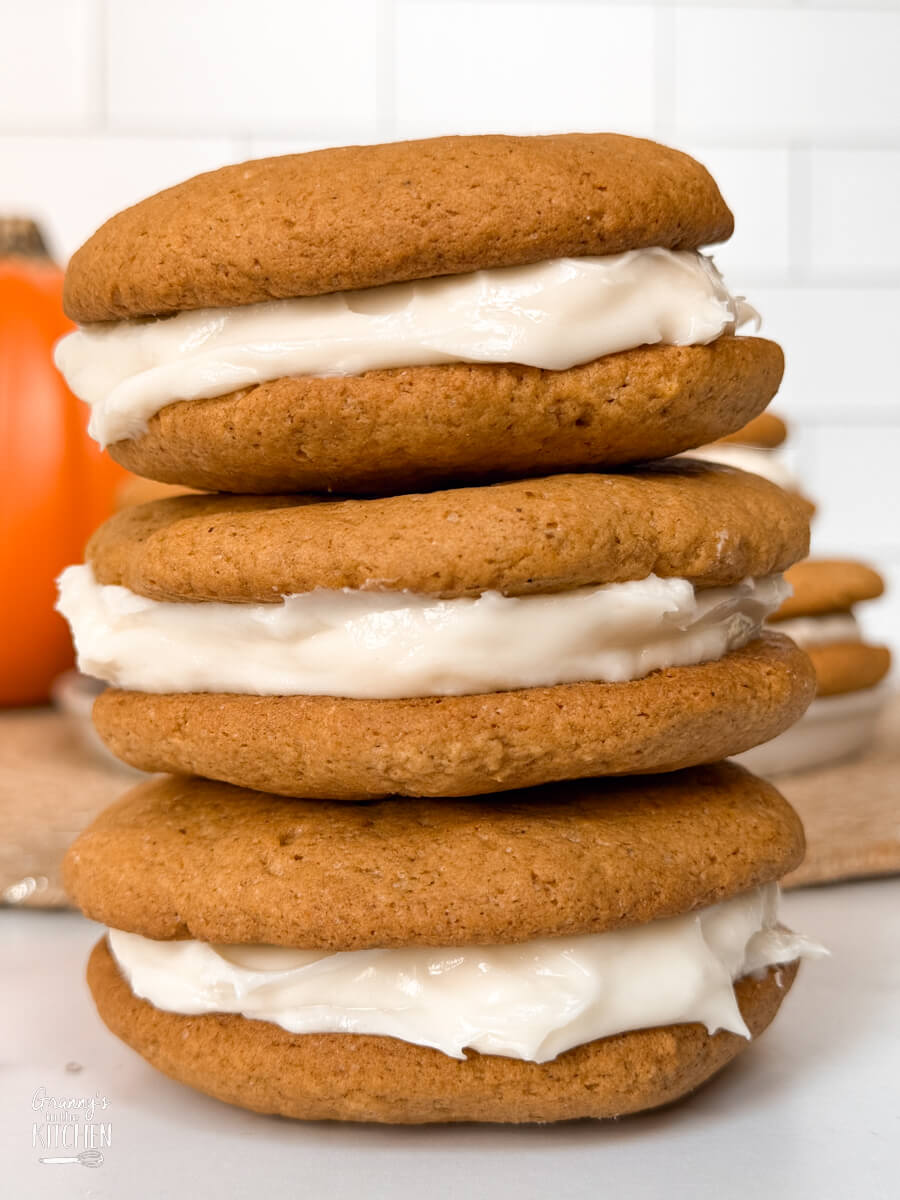
While these little desserts have pie in their name, they’re not pies at all. But they’re more than just cookies, too. Whoopie pies are made when two soft, cake-like cookies are sandwiched together with a creamy filling—creating something that’s part cake, part cookie, and all delicious.
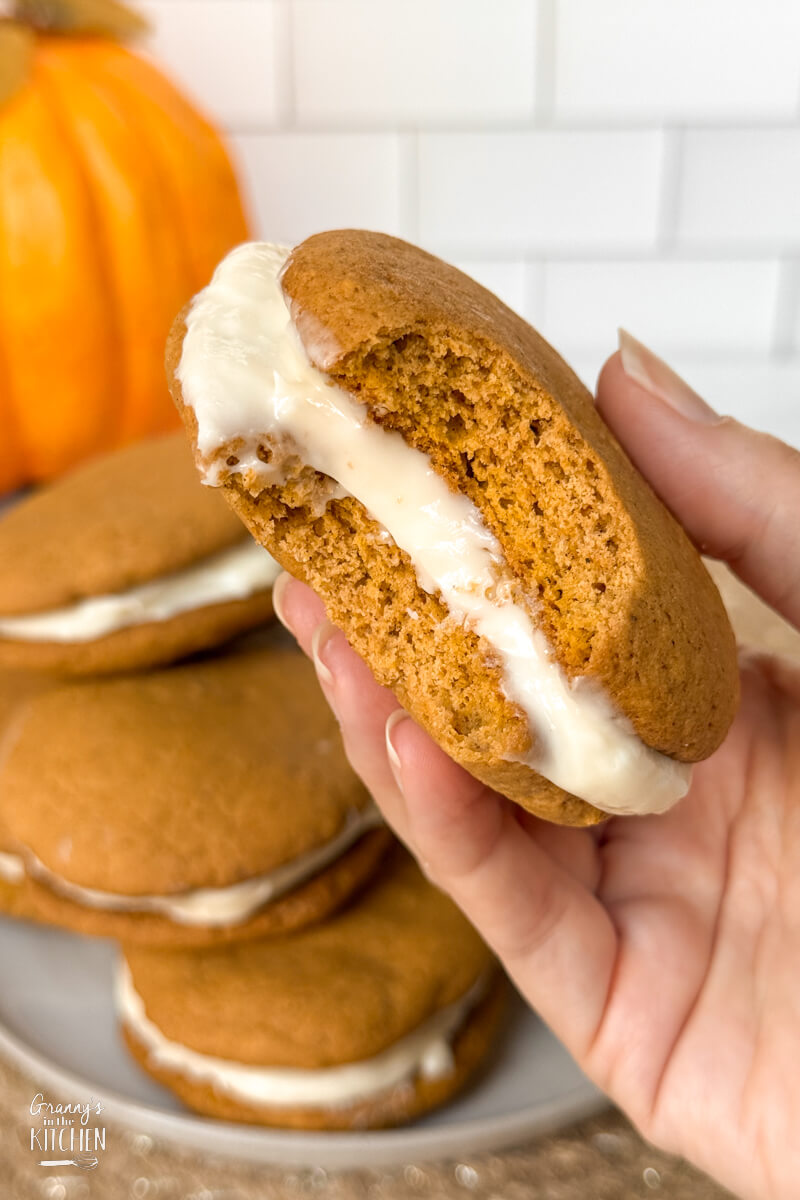
Traditionally, the chocolate version uses a marshmallow-based filling. But for my pumpkin version, cream cheese just made more sense. The tanginess of the cream cheese balances the warm spices and pumpkin flavor in the cookies beautifully. Plus, it makes them feel a little more decadent.
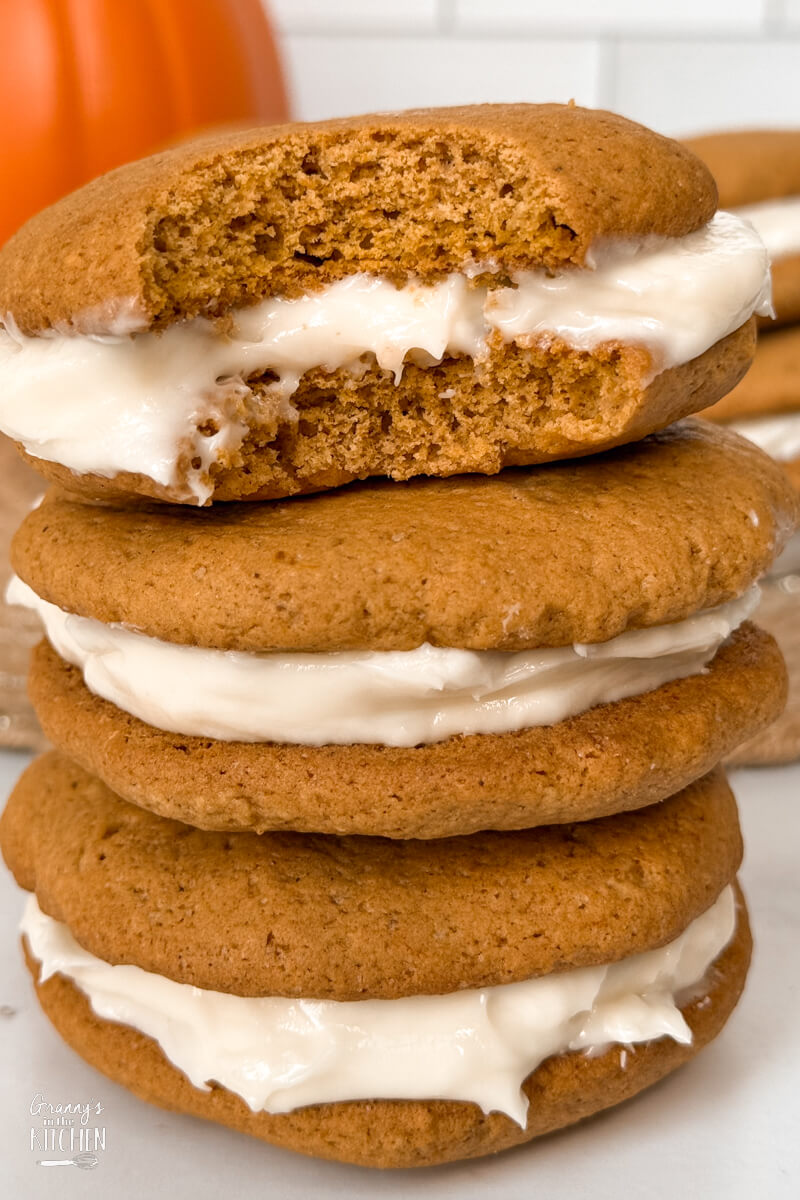
These Pumpkin Whoopie Pies are the kind of dessert that brings out the cozy feelings of fall. Whether you’re making them for a family gathering, a bake sale, or just to enjoy with your afternoon cup of coffee, they’re always a hit. They store well, and in my opinion, taste even better the next day after the flavors have had time to mingle.
If you’re a fan of pumpkin bread or pumpkin muffins, this is your next step up. Soft, fluffy cookies spiced with cinnamon, nutmeg, and cloves and that creamy filling tucked inside? Perfection.
Serve them chilled or at room temperature, and don’t be surprised if they disappear quickly. These are the kind of treats that invite a second helping!
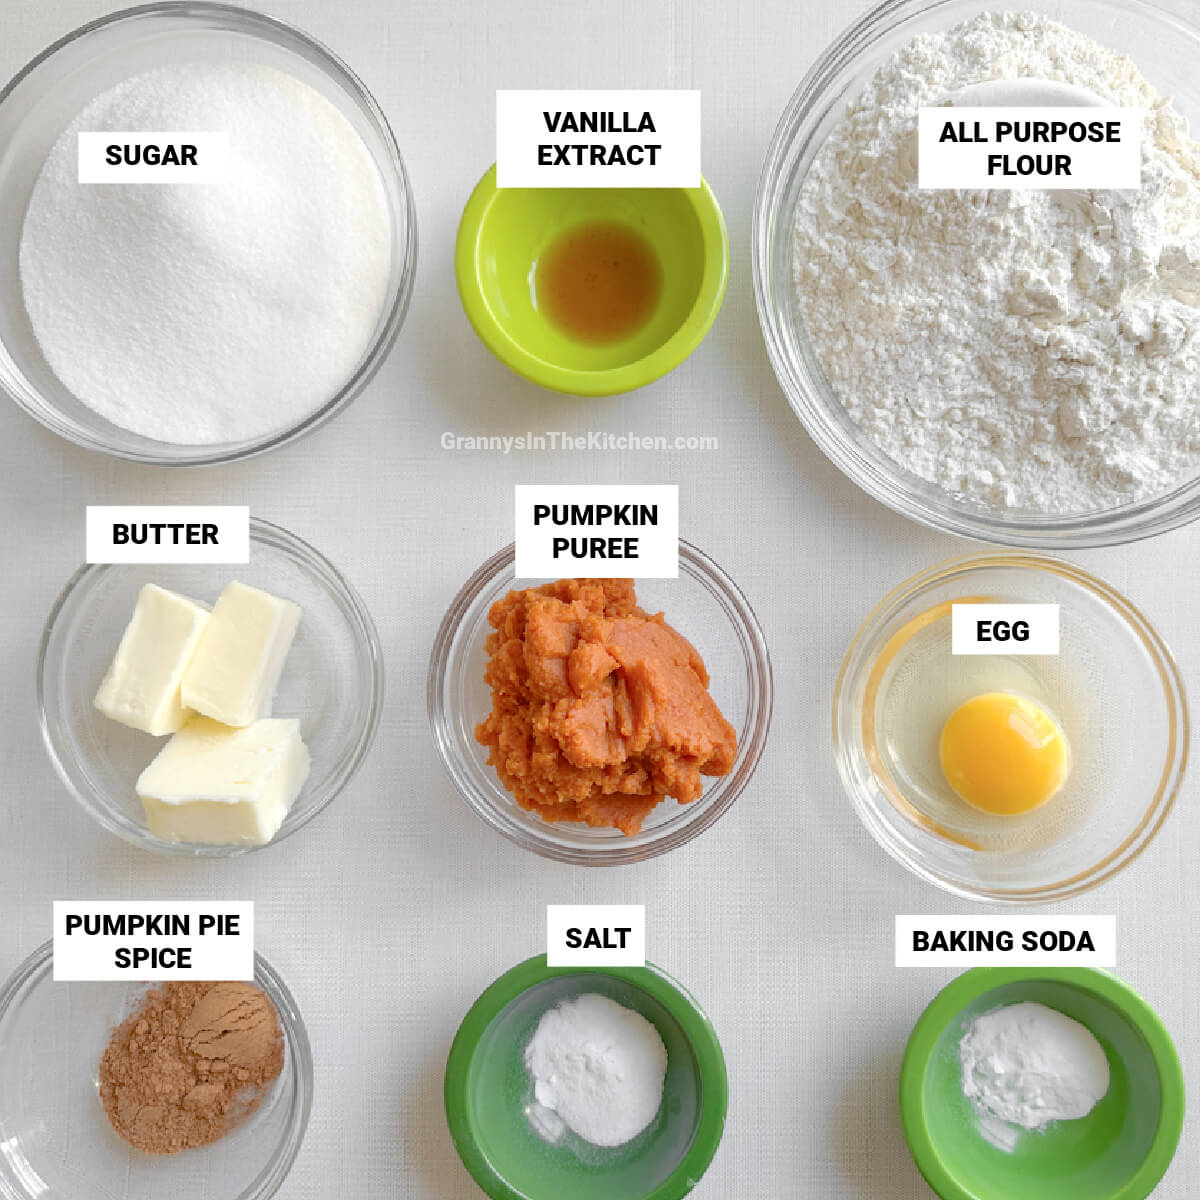
Ingredients
For the Cookies
- Unsalted Butter
- Granulated Sugar
- Large Eggs
- Vanilla Extract
- All-Purpose Flour
- Pumpkin Pie Spice
- Baking Soda
- Salt
- 100% Real Pumpkin Puree (canned is fine)
For the Filling
- Cream Cheese (room temperature)
- Powdered Sugar or confectioners’ Sugar
- Vanilla Extract
Full ingredient amounts available in the printable recipe card at the bottom of the post.
For your convenience in re-creating this recipe, we’ve included shop-able ad links to some of the products and supplies used. Read our disclosure policy here.
Helpful Kitchen Tools
- Baking Sheet
- Parchment Paper
- Mixing Bowls
- Stand Mixer with paddle attachment (or Electric Hand Mixer and large bowl)
- Wire Rack
Instructions
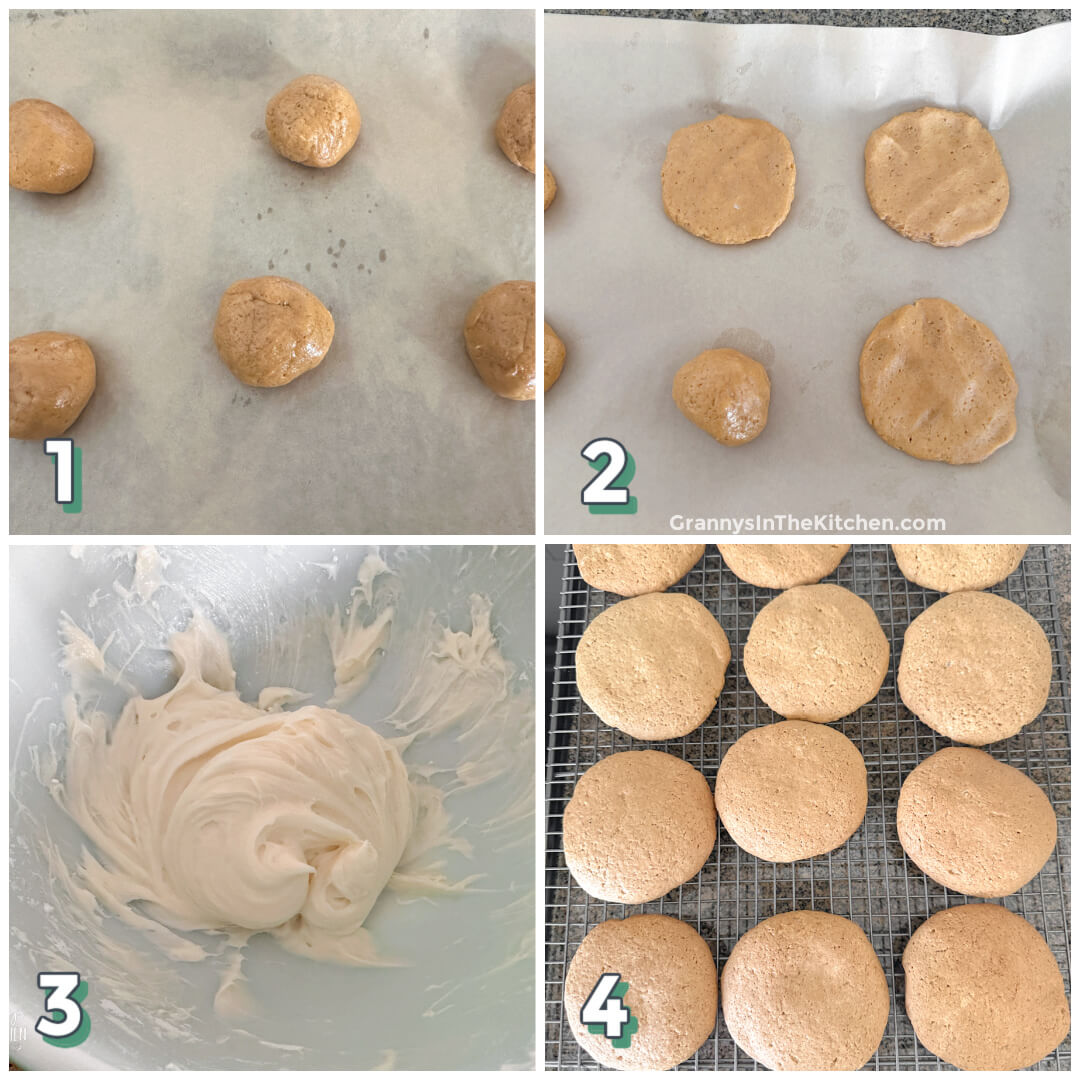
- Make The Cookie Dough – Start by creaming the butter and sugar, adding eggs and vanilla until fluffy. Mix the pumpkin and dry ingredients into the wet ingredients until a dough forms.
- Form Cookies & Bake – Portion out the batter into round balls on lined baking sheets, then press down to form 3-inch flat rounds. Bake at 375 degrees for 8-10 minutes until the edges are golden brown.
- Make The Frosting – Beat the filling ingredients together in a separate bowl, until smooth and creamy.
- Assemble – When cookies are completely cool, form sandwiches by spreading frosting on the flat side of one cookie and pressing another cookie (flat side facing inward) on top.
Prep Tips
- Yield – This recipe makes about 9 whoopie pies (18 cookies).
- Pumpkin – Be sure to use 100% real canned pumpkin, NOT pumpkin pie filling, which has added spices and sweeteners. We use Libby’s because I think it has the best flavor, but different brands are fine too.
- Adding the Filling – We simply used a spoon to spread the filling on the cookies, but if you want to make a bigger batch or make them look more “perfect,” you can use a piping bag with a large round tip.
- Storage – Because the frosting contains cream cheese (dairy) these cookies do need to be kept in the refrigerator if you’re not planning to enjoy them right away. Store in an airtight container in the fridge for up to 2-3 days. They can also be frozen for up to 2 months. I recommend storing in a single layer, or placing a sheet of parchment paper between layers if you need to stack them, so the cookies don’t stick together.
More Pumpkin Recipes To Try:
Pumpkin Whoopie Pie Recipe (Printable Recipe Card)
If you tried this recipe and loved it too, please rate it! We’d love to hear what you think in the comments below.
Want to Save This Recipe?
Enter your email & I'll send it to your inbox. Plus, get great new recipes from me every week!
By submitting this form, you consent to receive emails from Granny's in the Kitchen
Pumpkin Whoopie Pies
Equipment
- large mixing bowl
- cookie baking sheets
- Parchment paper
- Electric Mixer
Ingredients
Cookie
- 6 Tablespoons butter at room temperature
- 1 ¼ cups sugar
- 1 large egg
- 1 teaspoon vanilla extract
- 2 cups all-purpose flour
- 1 Tablespoon pumpkin pie spice
- 1 ½ teaspoon baking soda
- 1 teaspoon salt
- 2/3 cup canned 100% pumpkin puree
Filling
- 16 oz cream cheese at room temperature (2 typical packages)
- 1 cup powdered sugar
- 1 teaspoon vanilla extract
Instructions
To Make The Cookies
- Preheat oven to 375°F and line a large baking sheet with parchment paper.
- Cream butter and sugar for about two minutes until well combined.
- Add egg and vanilla and beat until fluffy.
- Mix the rest of cookie ingredients in until blended.
- Form cookie dough into round balls.
- With your palm, press each ball into a 3-inch flat round.
- Bake 8-10 minutes until cookie is set and edges are golden.
- Cool on pan for a couple of minutes.
- Remove cookies from pan and finish cooling on wire rack.
To Make the Filling
- Beat the cream cheese, confectioners’ sugar, and vanilla in a bowl until smooth.
Assembly
- When cookies are completely cool, divide the filling between half of the cookies, flat side up, top with the other halves, flat side down.
Notes
- Pumpkin - Be sure to use 100% real canned pumpkin, NOT pumpkin pie filling.
- Storage - Store in an airtight container in the fridge for up to 2-3 days. These can also be frozen for up to 2 months. I recommend storing in a single layer, or placing a sheet of parchment paper between layers if you need to stack them, so the cookies don't stick together.
Nutrition
Pin our pumpkin whoopie pies recipe on Pinterest:
You might also like: