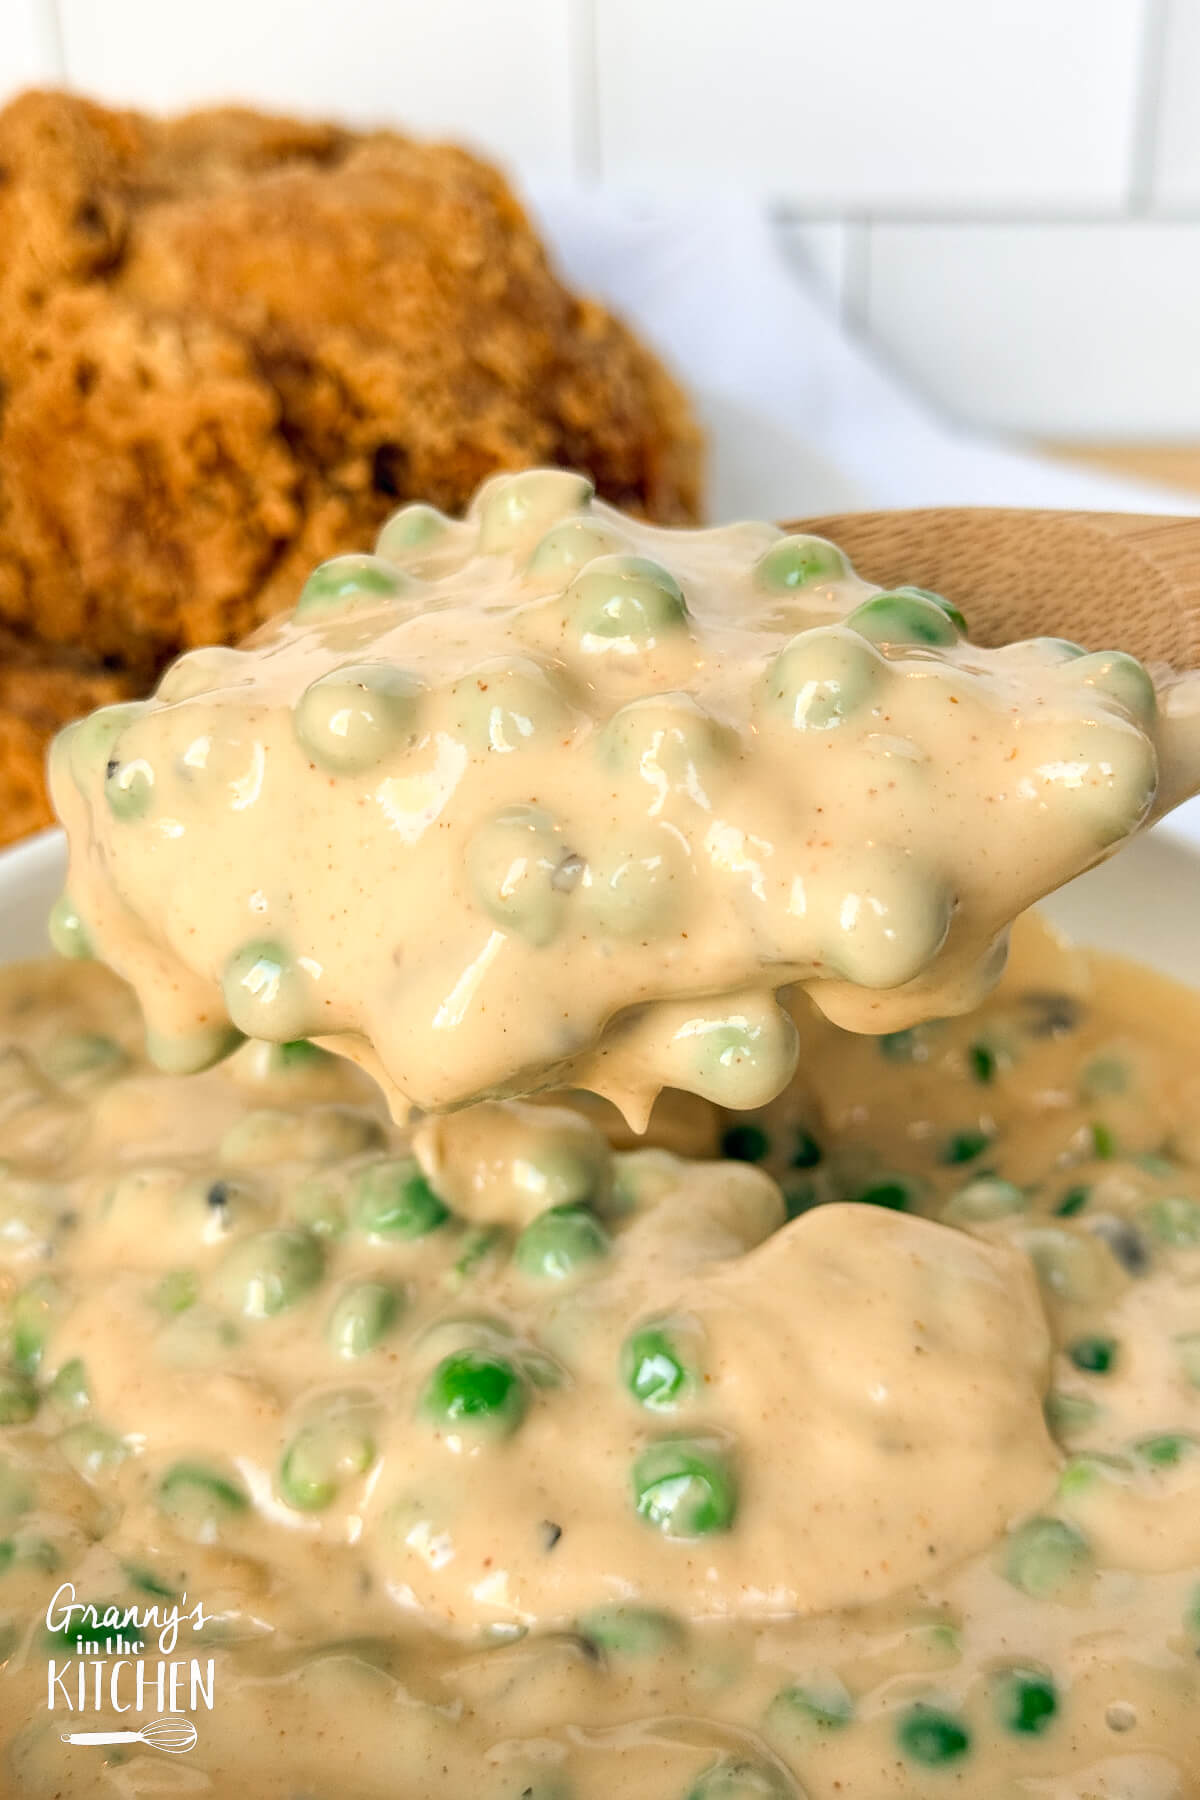
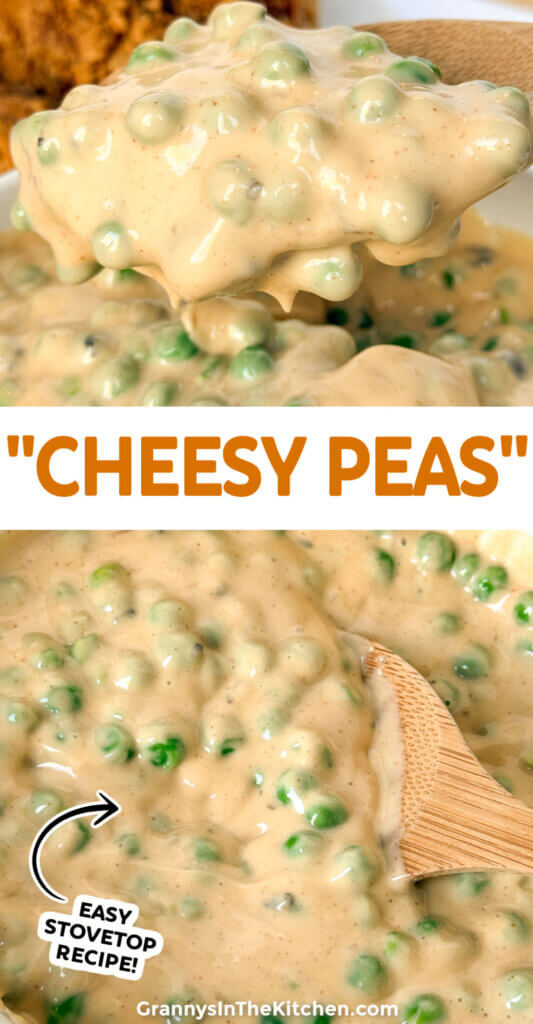
This vintage cheesy peas recipe is a creamy, budget-friendly vegetable side dish made with simple ingredients and ready in minutes!
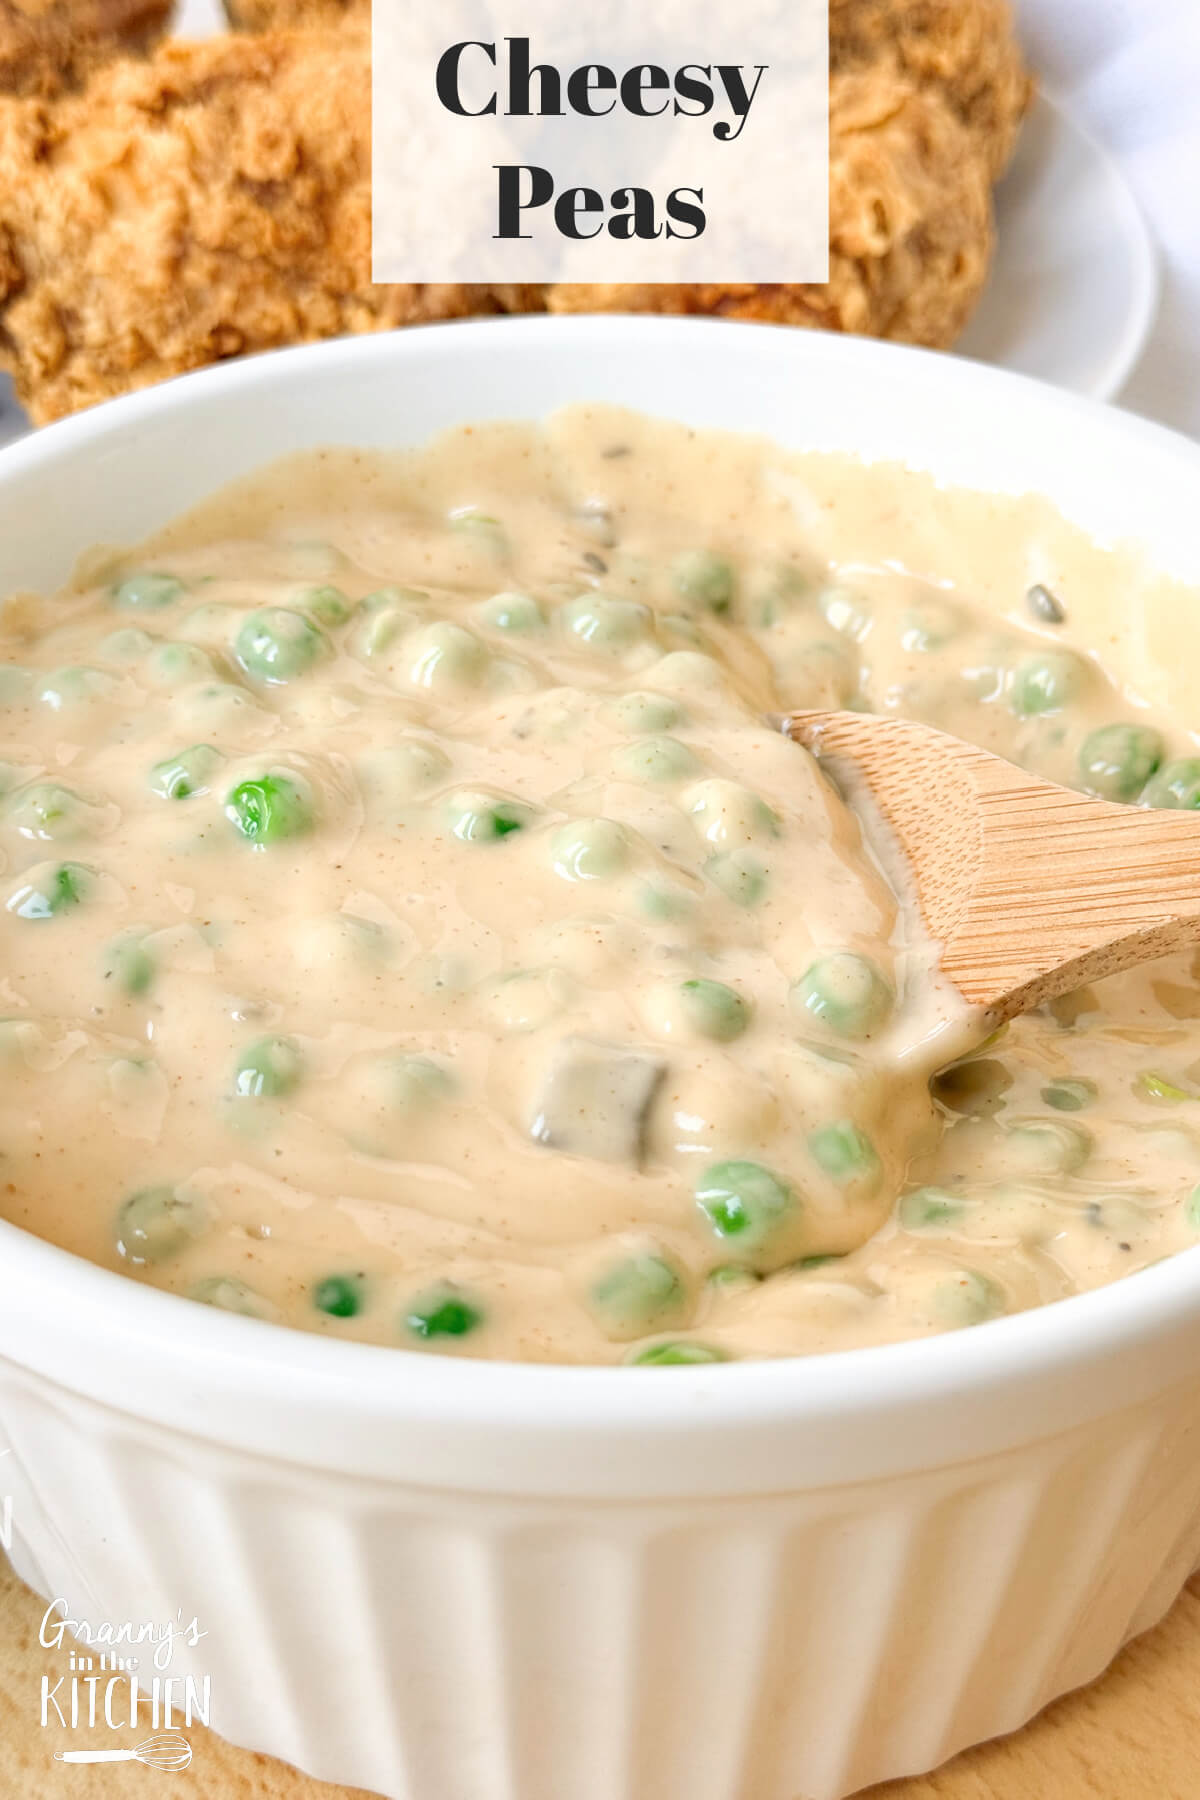
Cheese Peas aka “Hot Peas”
Cheesy peas are one of those simple vintage side dishes that show up again and again in old church cookbooks and family recipe boxes. The first time I saw it in one of my favorite cookbooks, it was actually called “Hot Peas” and I knew I had to try it!
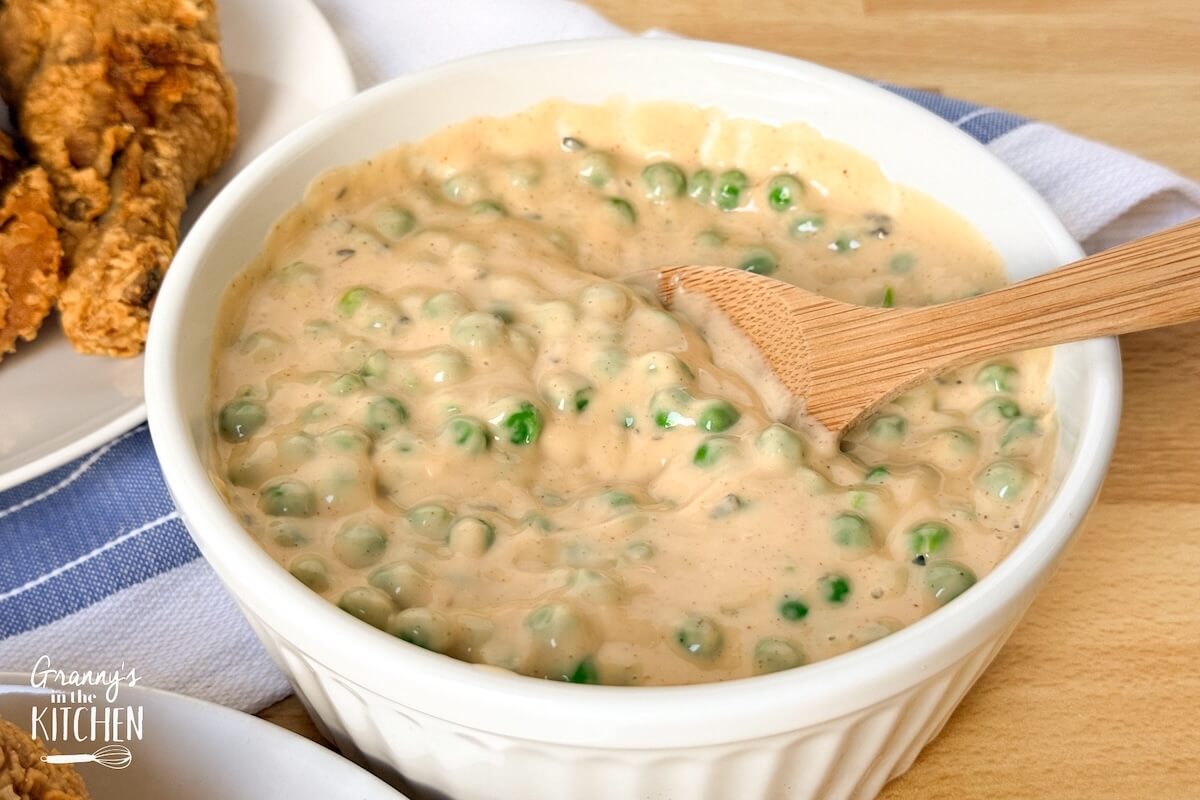
Made with humble pantry staples, this classic recipe turns canned peas into a warm, creamy, cheesy vegetable dish that’s ridiculously flavorful. It’s the kind of recipe that reminds you how good simple food can be!
The best part is how easy this recipe is to prepare – it’s pretty much foolproof because all you do is heat and eat! With just a handful of budget-friendly ingredients, everything comes together in minutes.
Cheesy peas are perfect for holiday dinners when you need an easy vegetable side, but they’re just as great on a busy weeknight. The cheesy flavor makes them especially kid-friendly, so they’re a great way to get little ones excited about eating their veggies. My youngest loved eating them as a dip with tortilla chips, so I suppose this could be considered a unique party appetizer too! — Stacey
Ingredients:
- Dairy: Cream cheese, Velveeta cheese, Shredded cheddar cheese
- Canned Goods: Sweet peas, Cream of mushroom soup, Chicken broth or vegetable broth
- Spices & Seasonings: Garlic powder, Paprika, Salt, Black pepper
Full ingredient amounts available in the printable recipe card at the bottom of the post.
For your convenience in re-creating this recipe at home, we’ve included shop-able ad links to some of the products and supplies used. Read our disclosure policy here.
Helpful Kitchen Tools
- Dutch Oven or Large Pot
Instructions
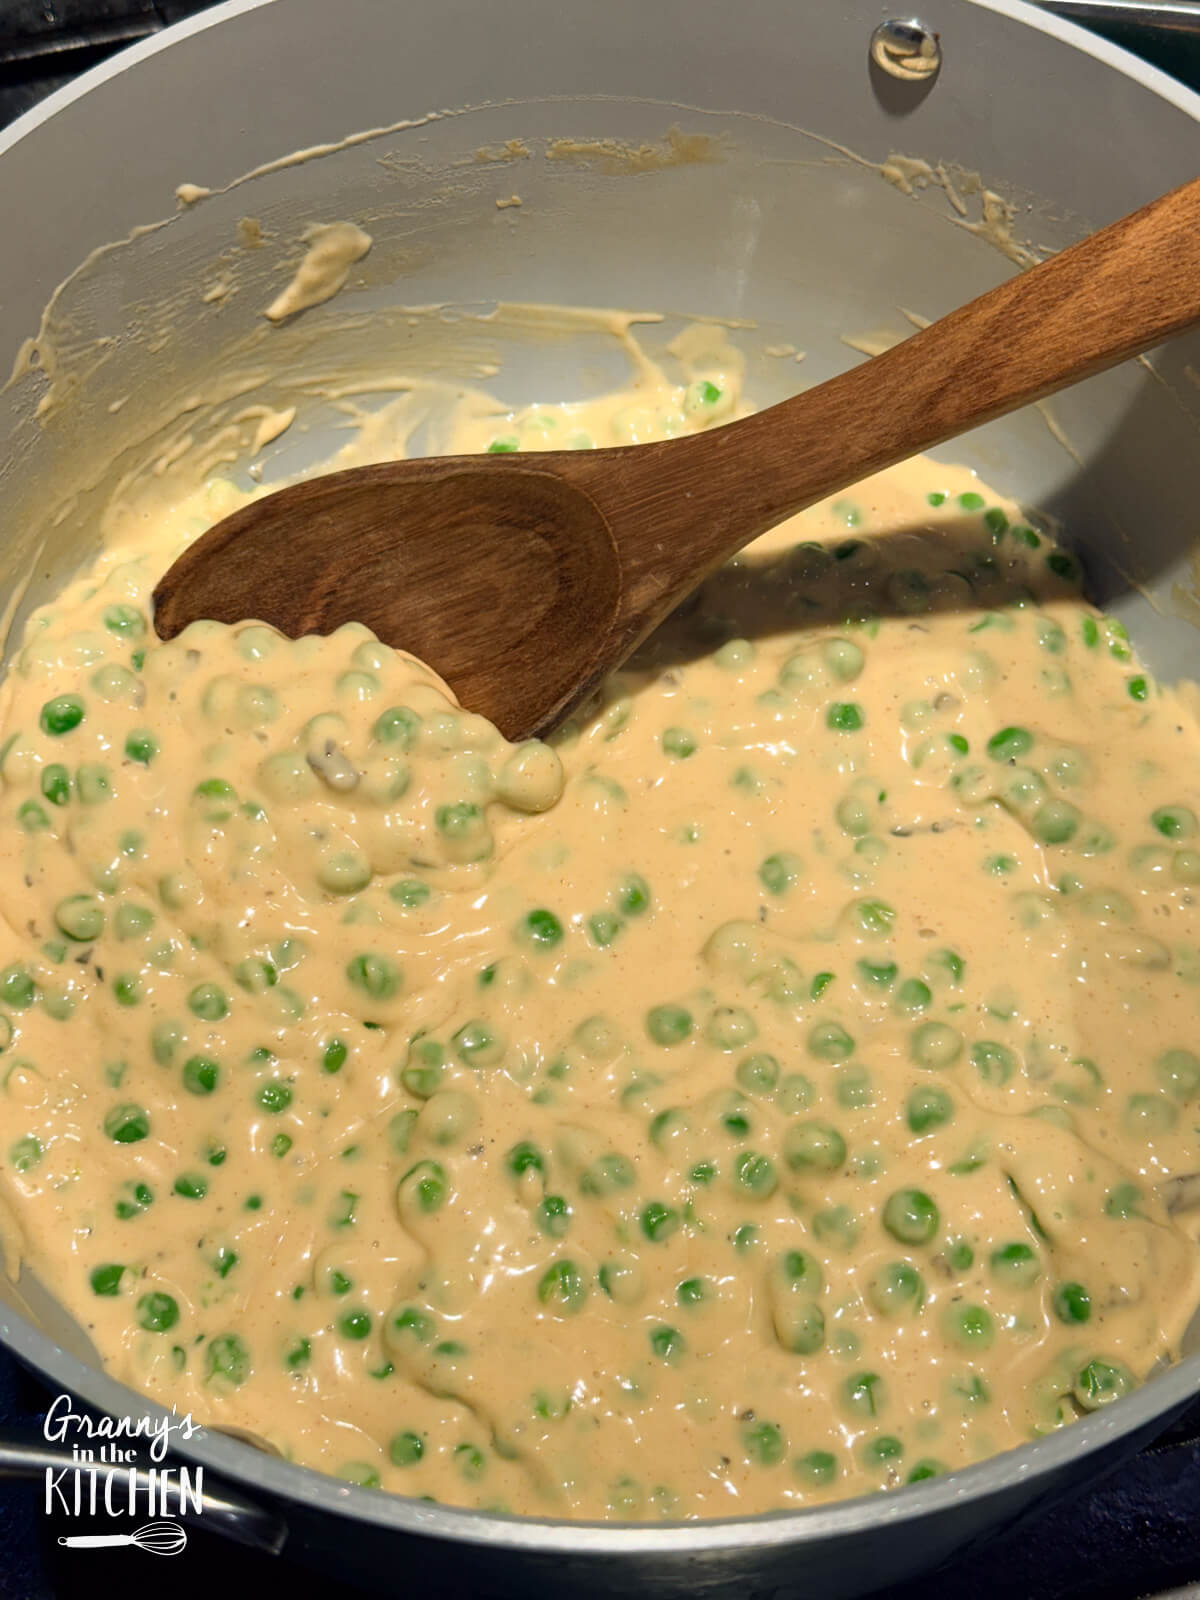
- Add the cream of mushroom soup and broth to a large pot over medium heat.
- Once the soup is hot and melty, add the cheeses, garlic, and paprika.
- Cook until the cheese is melted and smooth, stirring regularly.
- Stir in the peas until warmed through and season with salt and pepper to taste.
Prep Tips
- Peas: Use freshly shredded cheese; it melts more smoothly than pre-shredded cheese, which often contains anti-caking agents.
- Storage: Store leftovers in an airtight container in the refrigerator for up to 3–4 days.
- Reheating: Warm gently on the stovetop or in the microwave, stirring occasionally so the cheese sauce stays smooth. If needed, add a splash of milk to thin the sauce if it has gotten to thick.
More Easy Vegetable Side Dish Recipes
- Copper Penny Carrots
- Sautéed Green Beans with Feta and Caramelized Onions
- Broccoli Cheese Casserole
- Swiss Green Bean Casserole
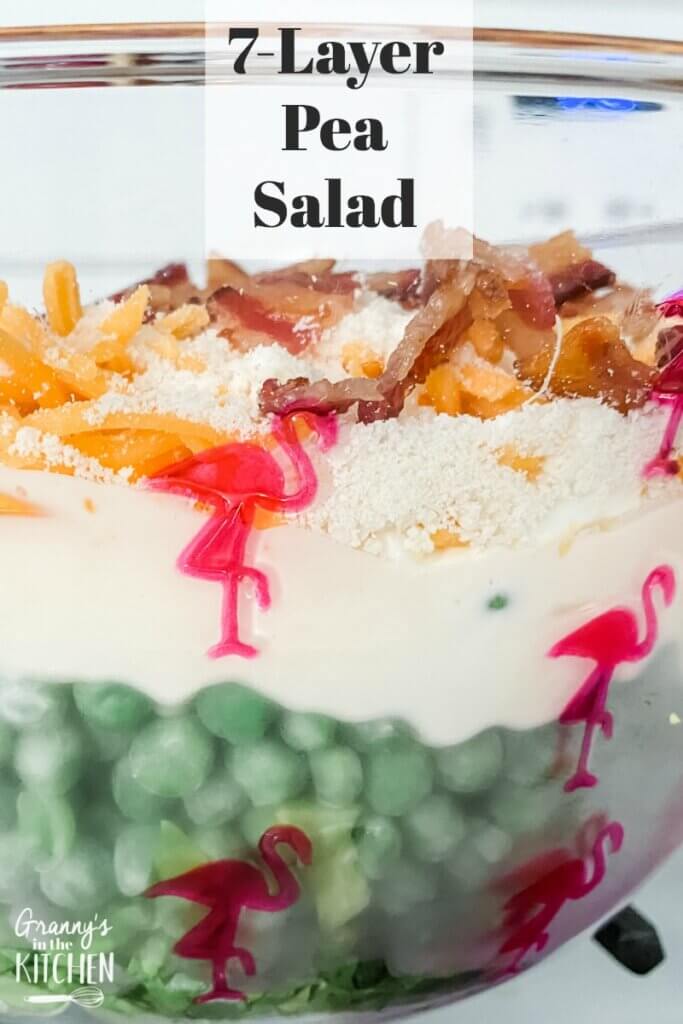
- 7 Layer Pea Salad
- Cracker Barrel Lima Beans
- Sautéed Broccoli with Garlic
- Celery Sauté with Pecans
Cheesy Peas Recipe (Printable Recipe Card)
If you tried this recipe and loved it too, please rate it! We’d love to hear your thoughts in the comments.
Want to Save This Recipe?
Enter your email & I'll send it to your inbox. Plus, get great new recipes from me every week!
By submitting this form, you consent to receive emails from Granny's in the Kitchen

Cheesy Peas
Equipment
- Dutch oven or Large Pot
Ingredients
- 1 can cream of mushroom soup 10.5oz can
- 1/2 cup chicken broth or vegetable broth
- 2 oz cream cheese
- 2 oz velveeta
- 2 oz cheese cheddar shredded
- 1/2 tsp garlic powder
- 1/2 tsp paprika
- 2 cans sweet peas 15oz cans
- Salt & black pepper to taste
Instructions
- Add the cream of mushroom soup and broth to a large pot over medium heat.
- Once the soup is hot and melty, add the cheeses, garlic, and paprika.
- Cook until the cheese is melted and smooth, stirring regularly.
- Stir in the peas until warmed through and season with salt and pepper to taste.
Notes
- Cheese: Use freshly shredded for smoother melting.
- Storage: Refrigerate leftovers airtight 3–4 days.
- Reheat: Warm gently, stirring; add a splash of milk if sauce thickens.
Nutrition
Pin our Cheesy Peas Recipe on Pinterest:
You might also like: