
This is our great-grandmother’s famous homemade dinner rolls recipe — it is a staple at all of our family gatherings and holiday meals! Soft on the inside, with a buttery golden brown top, they are absolutely perfect!! We’ll show you how to make both pull-apart rolls and cloverleaf rolls with the same dough.

Stella’s Dinner Rolls
When I was a little girl, I loved when my grandmother came to our house for dinner, because she would bring her amazing homemade cloverleaf dinner rolls. These dinner rolls were not only beautiful, they were incredibly delicious.
Sadly, my grandmother developed Alzheimer’s disease when I was young and she was unable to make the rolls any more. Fortunately, she had taught my mom to make them and my mother continued the tradition, making these exact rolls for every single Thanksgiving and Christmas for over 50 years.
I still continue the tradition of making and serving these buttery soft dinner rolls for holiday meals.
Several years ago, my mom taught me to make them from start to finish and now, I am the one who can wow an entire group with a basket of the best homemade dinner rolls you will ever taste.
This basic dough recipe also makes the best homemade cinnamon rolls too! We also use this dough recipe for our Orange Sweet Rolls.
Related: Try Grandmother’s Pineapple Icebox Cake Recipe too!

Why These Are the Best Rolls Ever
I’ve never had rolls like this anywhere else!
Nothing in a store compares, though occasionally in the past, I’ve had decent rolls in restaurants. However, it has been years since I’ve had a great dinner roll in a restaurant.
So, if you want to experience the best dinner roll of your life, then give these a try. I’m going to walk you through all the tricky steps so you can get it right the first time you make them!
Related: Try them with our old-fashioned tomato jam!
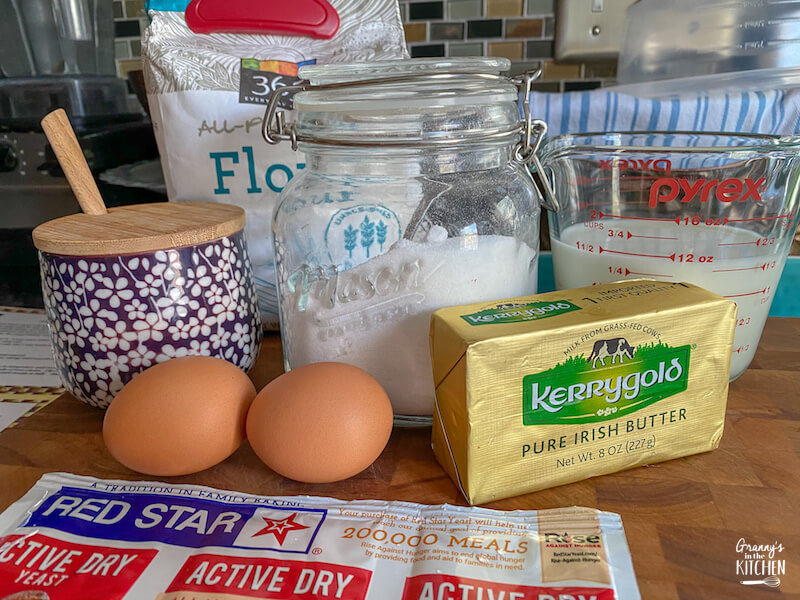
Ingredients
For your convenience in re-creating this recipe at home, we’ve included shop-able ad links to some of the products and supplies used. Read our disclosure policy here.
These rolls don’t have a lot of ingredients, so they depend on you using the best ingredients, especially the butter.
- Dry yeast — Not rapid rise
- Water
- Salted butter
- Sugar
- Warm milk — I prefer whole milk, though you can use any milk you have on hand.
- Salt
- 2 Eggs –– beaten
- All-purpose flour
Kitchen Tools Used
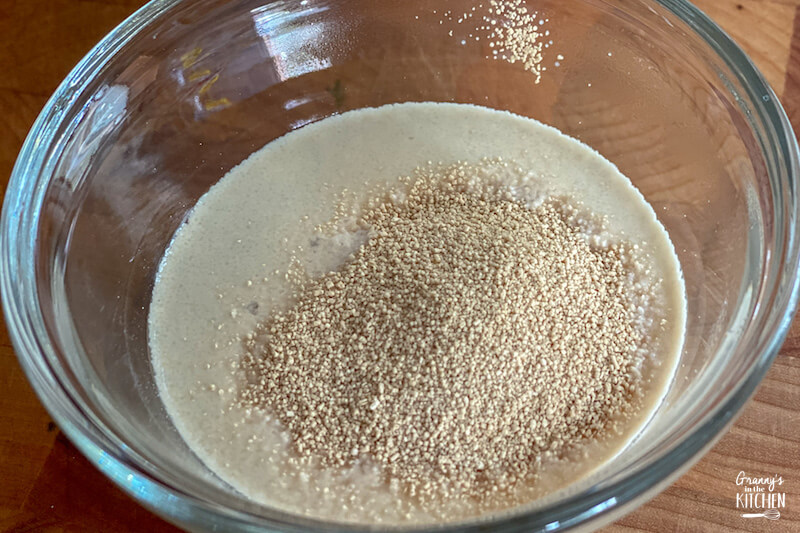
How to Make the Dough
Dissolve the two packages of yeast in the warm water and set aside.
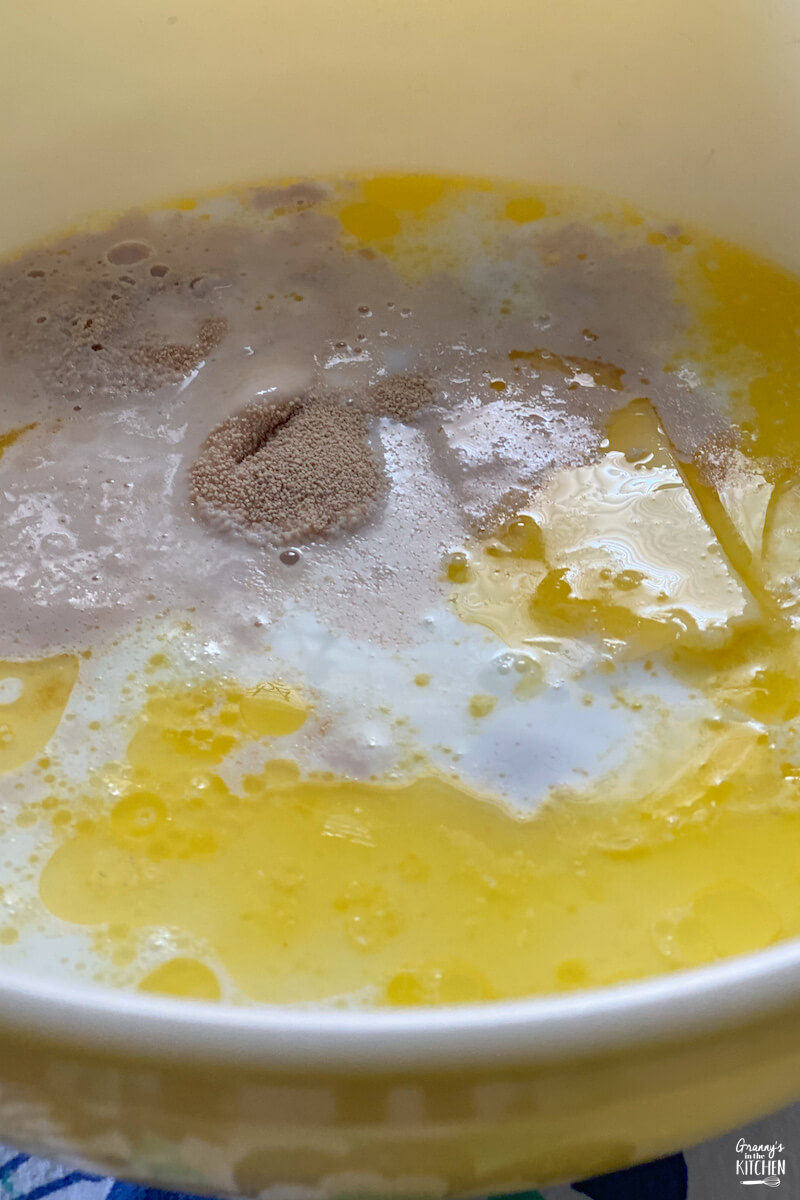
In a large bowl, soften one stick of salted butter.
To the butter add:
- ½ cup sugar
- 1 tsp salt
- 1 cup of warm milk
- 1 cup of cold water
- 2 beaten eggs
- yeast mix
- 3 ½ cups of flour
Use a hand mixer to blend all of the ingredients together until there are no lumps and it is sticky and smooth.
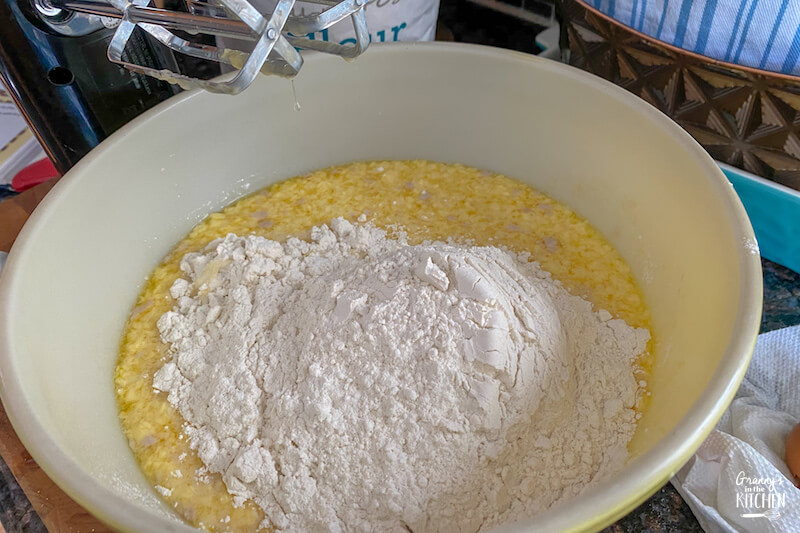

This step takes the place of lengthy kneading of the dough as it helps create a springy and stretchy dough. This is super important.
Now, you’ll start adding the rest of the flour. I like to add a cup at a time, until I’ve reached 6 ½ cups total. (There’s 3 ½ cups in stretchy mix and you add 3 more by hand) Stir in the flour with a heavy wooden spoon.
Your dough will probably still be sticky at this point.
Add more flour, ½ cup at a time. You want your dough to be able to form a ball and not be too sticky. However, you don’t want to add too much flour. So, add just enough that your dough can be formed into a ball that is smooth and elastic. It’s okay if it’s a little sticky.
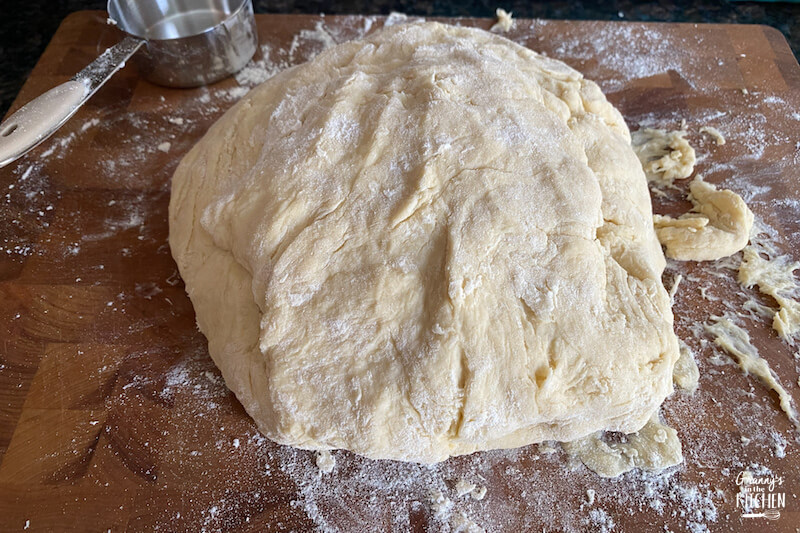
Dump this dough onto a clean surface. Knead it a little with your hands until it forms a real ball. You can use a little more flour if needed.
Wash out your big bowl and dry it. Add about ¼ cup of melted butter or light olive oil.
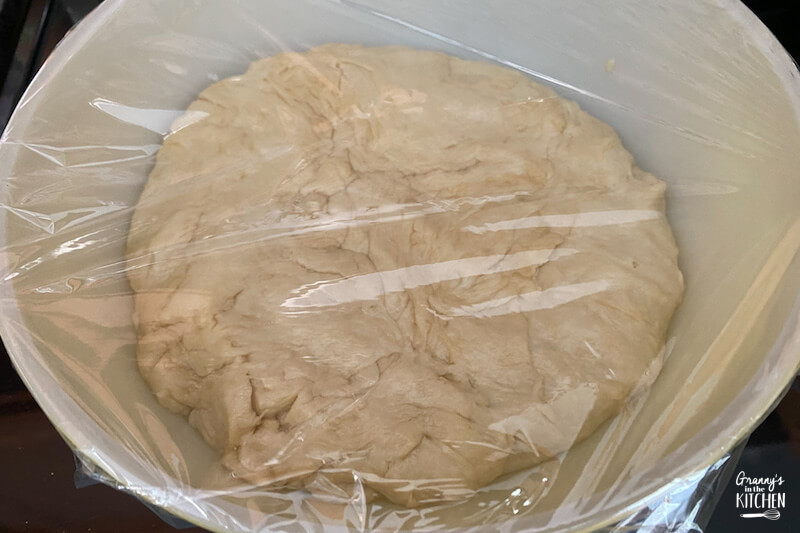
Put the dough back in the bowl and roll it around in the oil.
Cover the bowl with plastic wrap and place somewhere out of any cold drafts. You don’t have to put it in a warm place but you don’t want an air conditioner vent or fan blowing on it.
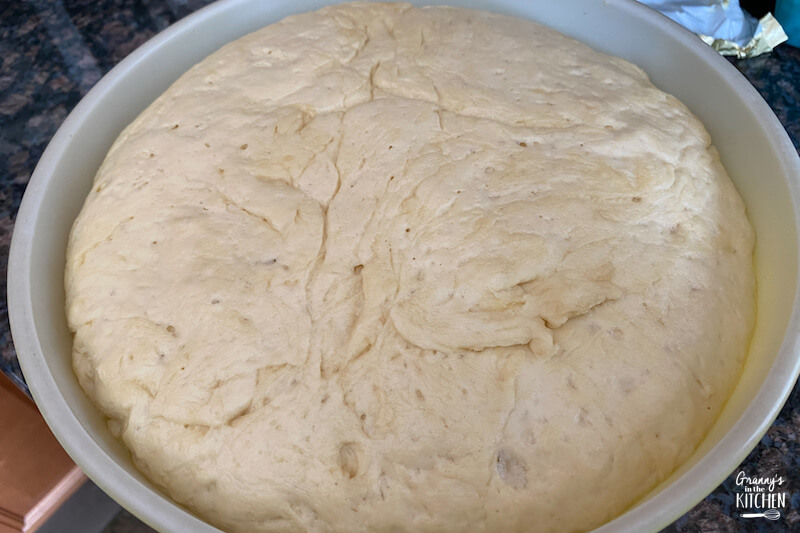
Let the dough sit for about an hour and a half, until it fills the bowl. It will be soft to touch and about double in size.
 Alternatively, you can let rise in refrigerator until about two hours before you are ready to bake, if you make it early in day or night before.
How to Shape the Dinner Rolls
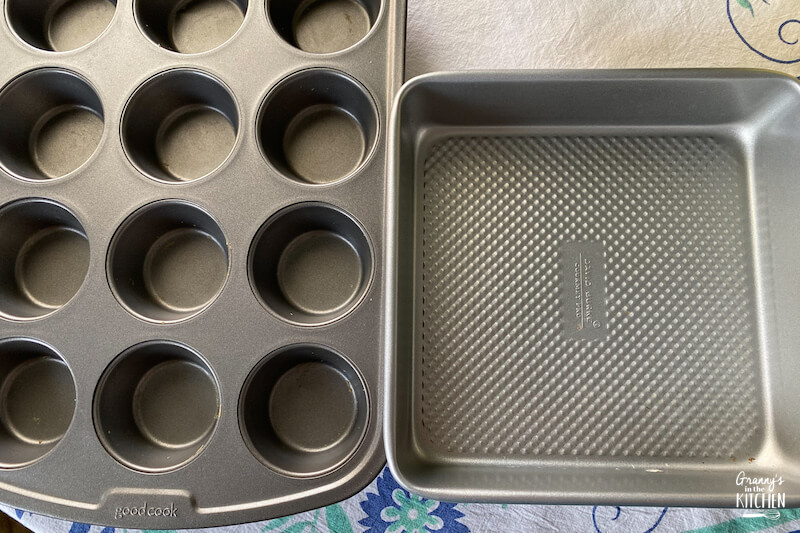
I like to make two different shapes of dinner rolls. This recipe makes about two dozen rolls. I use a muffin pan to make 12 cloverleaf rolls and a 9-inch square cake pan to make about 16 to 20 pull-apart rolls. But you can make yours all the same either way.
Uncover the dough that is now all puffed up and soft. Use your hands to push down on it, until all the air is out and it is reduced in size and firm again.
Divide the dough into two equal pieces. Divide the two pieces each into four pieces. That’s all the dividing I do. I eyeball everything else.
The important thing is not to get exactly 24 rolls. The important thing is that all your rolls are uniform in size. All the clover leafs are the same size and all the pull-aparts are the same size. Or as close as you can get.
Assemble a little work area. Melt the remaining stick of butter in a bowl. Get out the pans you are going to use. I like to work on a cookie pan because melted butter can get a little messy. You want to have everything ready to go, because your hands will be messy.
I like to do the clover leaf rolls first. Plan on one half the dough for this pan. You might need a little more and that’s okay. I’d rather have a full pan of clover leaf, so that’s what I always make first.
How to Make Cloverleaf Rolls
You have 12 spaces for muffins and each space will hold three balls of dough. You will be making 36 balls of dough that are about 1 ½ inches in diameter.
Pull a piece of dough and break it off. Form it into a ball by stretching it a bit and tucking the sides underneath. Dip it into the melted butter and place in muffin tin.
Do this procedure 35 more times until the muffin tin is full.
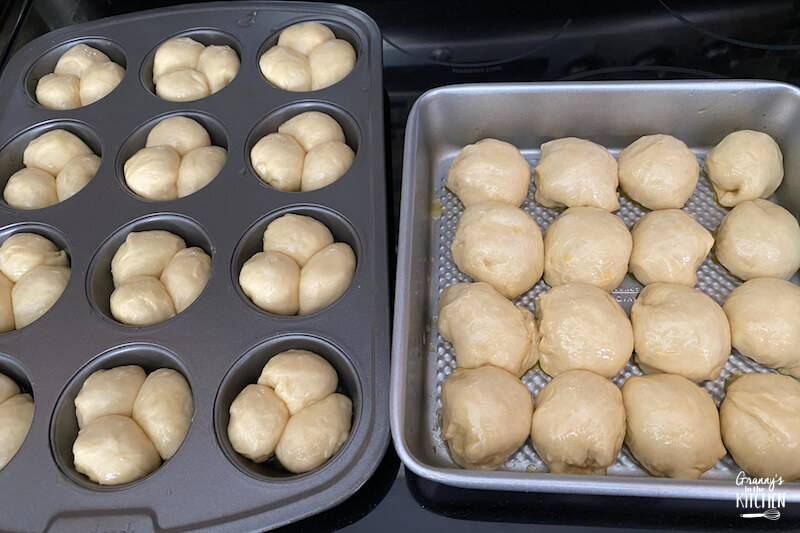
How to Make Pull Apart Rolls
Now, to make the pull apart rolls. When I made this recipe, I ended up with 16 rolls in the second pan.
I make these dough balls a little bigger, more like two inches around. You form them the same way and dip in butter. Then space evenly in your square baking pan. Leave a little room between them.
Baking Instructions
Whether you’re making cloverleaf rolls, pull-apart rolls, or both, these are the next steps:
Cover both pans with plastic wrap and put them in a draft-free place to rise for 1 and ½ hours.
Preheat your oven to 375 degrees. Remove plastic wrap from rolls and put them in the oven when it is at the correct temperature.
Bake for about 12 to 15 minutes, until they are golden brown on top.
Remove from oven and brush with remaining melted butter.
Serve immediately and enjoy!

Frequently Asked Questions
Can you halve this recipe?
Yes, it’s easy to halve. But usually I make the whole recipe so that everyone can take leftover rolls home after the meal. You can never have to many, in my experience!
How will I know when dough has risen enough?
That’s one of those things that is learned through practice, but there are few clues.
The dough will usually double in size within the time noted in the recipe. Sometimes it takes longer, sometimes it takes less time.
The time itself isn’t as important as the dough rising enough but not too much. If it rises too much it collapses on itself. So you want it to double in size.
Here is the traditional test to see if dough is ready. Stick your finger into the dough. If the indent stays, you are ready for the next step.
Can you use rapid yeast to make rolls?
You could use rapid yeast instead; however I have not personally tried this, so it’s possible that the times could be different. All of the times listed in this recipe are based on regular yeast.
What kind of milk do you recommend?
Whole milk would be my first choice. If you have some other kind on hand, I would just use that. For making this batch, I used 1/2 cup of half and half with 1/2 cup water to substitute for the milk.
How hot should the milk and water be?
The water for the yeast just needs to be warm to the touch. This is what will get the yeast started.
When I make the recipe, the butter is warm because I’ve just melted it. Then you add milk and water. Together they should add up to something warm but not hot.
This is because if it’s too cold, the yeast will take longer to get going. If it’s too hot, it will kill the yeast.
Don’t stress about it. Just make sure the liquids are warm to touch but not hot or cold.

More of our favorite homemade bread recipes:
- Angel Biscuits
- Orange Sweet Rolls
- Broccoli Cornbread
- Banana Friendship Bread (No Nuts)
- Copycat Red Lobster Cheddar Bay Biscuits
Homemade Dinner Roll Recipe (Printable Recipe Card)
Want to Save This Recipe?
Enter your email & I'll send it to your inbox. Plus, get great new recipes from me every week!
By submitting this form, you consent to receive emails from Granny's in the Kitchen

The Best Homemade Rolls Recipe
Equipment
- Muffin Tin
- 9-inch cake pan
- Wooden spoon
- Hand mixer
- large mixing bowl
Ingredients
Instructions
How to Make the Dough
- Dissolve the two packages of yeast in 1/4 cup warm water and set aside.
- In a large bowl, soften one stick of salted butter.
- To the butter add:½ cup sugar, 1 tsp salt, 1 cup of warm milk, 1 cup of cold water, 2 beaten eggs, yeast mix, and 3 ½ cups of flour
- Use a hand mixer to blend all of the ingredients together until there are no lumps and it is sticky and smooth. This step takes the place of lengthy kneading of the dough as it helps create a springy and stretchy dough. This is super important.
- Now, start adding the rest of the flour. I like to add a cup at a time, until I’ve reached 6 ½ cups total. (There’s 3 ½ cups in stretchy mix and you add 3 more by hand) Stir in the flour with a heavy wooden spoon.
- Add more flour, ½ cup at a time. You want your dough to be able to form a ball and not be too sticky. However, you don’t want to add too much flour. So, add just enough that your dough can be formed into a ball that is smooth and elastic. It’s okay if it’s a little sticky.
- Dump this dough onto a clean surface. Knead it a little with your hands until it forms a real ball. You can use a little more flour if needed.
- Wash out your big bowl and dry it. Add about 2 Tablespoons of light oil
- Wash out your big bowl and dry it. Add about 2 Tablespoons of light oil
- Cover the bowl with plastic wrap and place somewhere out of any cold drafts. You don’t have to put it in a warm place but you don’t want an air conditioner vent or fan blowing on it.
- Let the dough sit for about an hour and a half, until it fills the bowl. It will be soft to touch and about double in size.
How to Form the Rolls
- Uncover the dough that is now all puffed up and soft. Use your hands to push down on it, until all the air is out and it is reduced in size and firm again.
- Divide the dough into two equal pieces. Divide the two pieces each into four pieces. That’s all the dividing I do. I eyeball everything else.
- I like to make two different shapes of dinner rolls. This recipe makes about two dozen rolls. I use a muffin pan to make 12 cloverleaf rolls and a 9-inch square cake pan to make about 16 to 20 pull-apart rolls. But you can make yours all the same either way.
- The important thing is not to get exactly 24 rolls. The important thing is that all your rolls are uniform in size. All the clover leafs are the same size and all the pull-aparts are the same size. Or as close as you can get.
- Assemble a little work area. Melt the remaining stick of butter in a bowl. Get out the pans you are going to use. I like to work on a cookie pan because melted butter can get a little messy. You want to have everything ready to go, because your hands will be messy.
- I like to do the clover leaf rolls first. Plan on one half the dough for this pan. You might need a little more and that’s okay. I’d rather have a full pan of clover leaf, so that’s what I always make first.
Directions for Cloverleaf Rolls
- You have 12 spaces for muffins and each space will hold three balls of dough. You will be making 36 balls of dough that are about 1 ½ inches in diameter.
- Pull a piece of dough and break it off. Form it into a ball by stretching it a bit and tucking the sides underneath. Dip it into the melted butter and place in muffin tin.
- Do this procedure 35 more times until the muffin tin is full.
Directions for Pull Apart Rolls
- Now, to make the pull apart rolls. When I made this recipe, I ended up with 16 rolls in the second pan.
- I make these dough balls a little bigger, more like two inches around. You form them the same way and dip in butter. Then space evenly in your square baking pan. Leave a little room between them.
How to Bake Dinner Rolls
- Cover both pans with plastic wrap and put them in a draft-free place to rise for 1 and ½ hours.
- Preheat your oven to 375 degrees. Remove plastic wrap from rolls and put them in the oven when it is at the correct temperature.
- Bake for about 12 to 15 minutes, until they are golden brown on top.
- Remove from oven and brush with remaining melted butter.
- Serve immediately and enjoy!
Nutrition
Pin this recipe on Pinterest:

You might also like:
Copycat Red Lobster Biscuit Recipe
The Best Zucchini Bread Recipe

I made these rolls for Thanksgiving dinner and were an absolute hit! I thought it would be good to leave a comment since I only had rapid rise yeast on hand and made several mistakes. I forgot to add the cold water until I was in the last step of adding the remaining flour (plus I believe I added 1 1/2 cups of warm milk!). I put the finished dough in the fridge overnight and baked them the next morning, this time successfully following the recipe. We usually skip serving rolls with our holiday dinners, however the family LOVED the roles and will definitely be a staple for our future gatherings!
Thanks for sharing your experience with the best homemade dinner rolls. My children and now grandchildren request them for any holiday dinner. I’m glad your family loved the rolls! Sara
This is an old post and I wanted so badly to make these, but the recipe(printable one) instructions is missing so much info at the beginning. No info on how much water to use to dissolve the yeast . Your instructions start off with “uncover the dough”…..?? So, I have to find a different one, I guess.
Not sure what happened – but I’ve made sure the printable recipe is correct now. Remember, we’re human over here!