
Layers of vibrant colors and flavors make this this vintage rainbow Jello ribbon salad recipe a total crowd pleaser! Such a fun and unique dish!

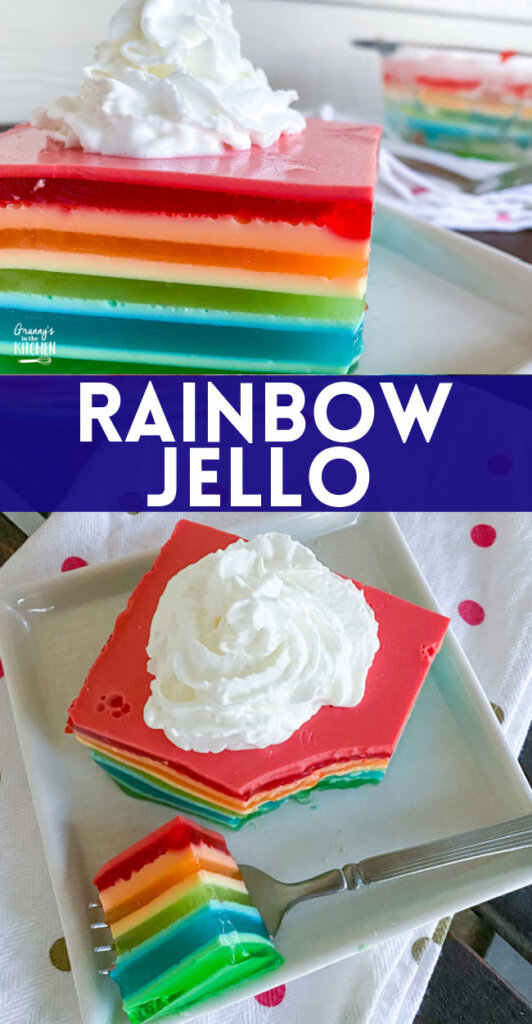
Rainbow Jello
I discovered this recipe in 1987 at a church function and I’ve been making it ever since.
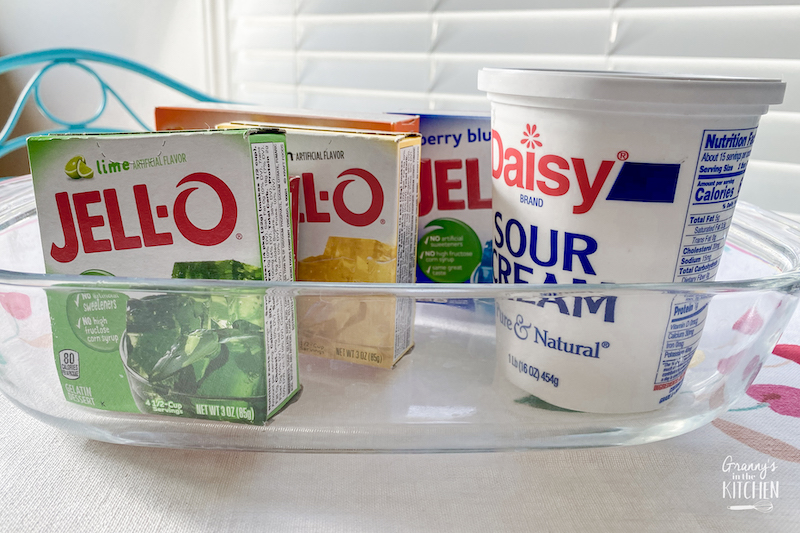
This gelatin layered salad has only three ingredients: Jello, sour cream and water. The directions are so easy, and each step doesn’t take much time at all.
However, because there are 10 to 12 layers, it can take about 8 hours to finish it up. Don’t let that scare you away. It really is not a difficult recipe—it just takes some time.
This is because each individual layer has to set up in the refrigerator before you can add another layer.
It’s not a big deal though. Do it on a day, when you are going to be home. Go about your day and every 45 minutes go to the kitchen and add the next layer. Before you know it, you will have your work of art done!
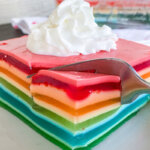
When this dish is finished, it really does look like a work of art when you cut and serve it. The layers are jewel like colors and it is so pretty!
The effort is worth it because you will have a show-stopper dessert. While jello is usually thought of as a child’s treat, in my experience the adults love this dessert as much as the children.
It looks pretty in the pan, but it is gorgeous once you cut into it. Top it with some whipped cream and it is a super fancy dessert!
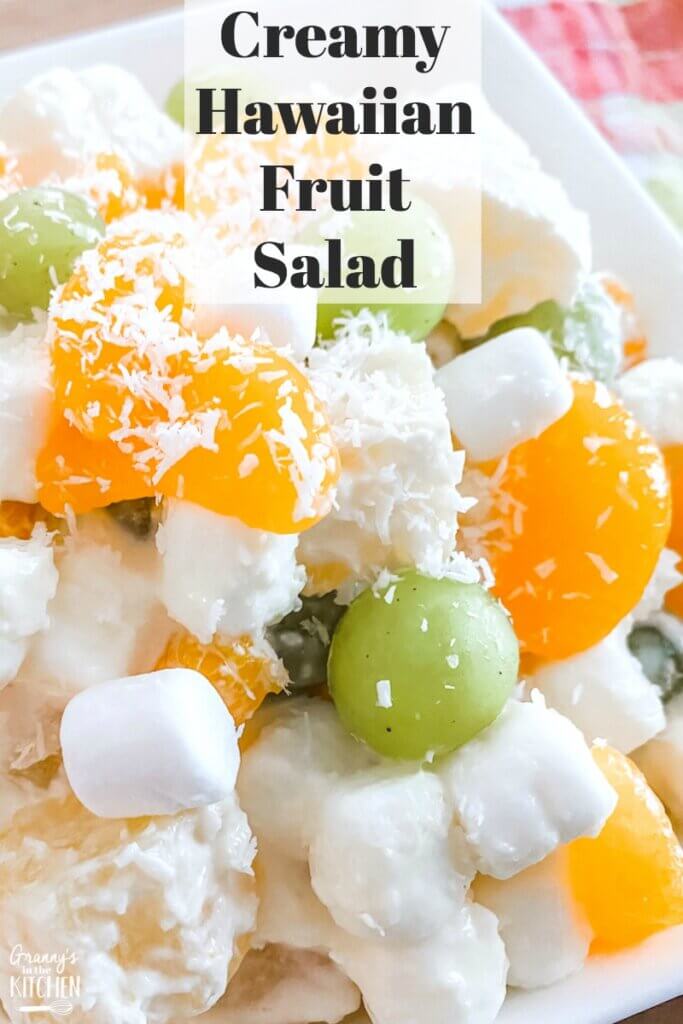
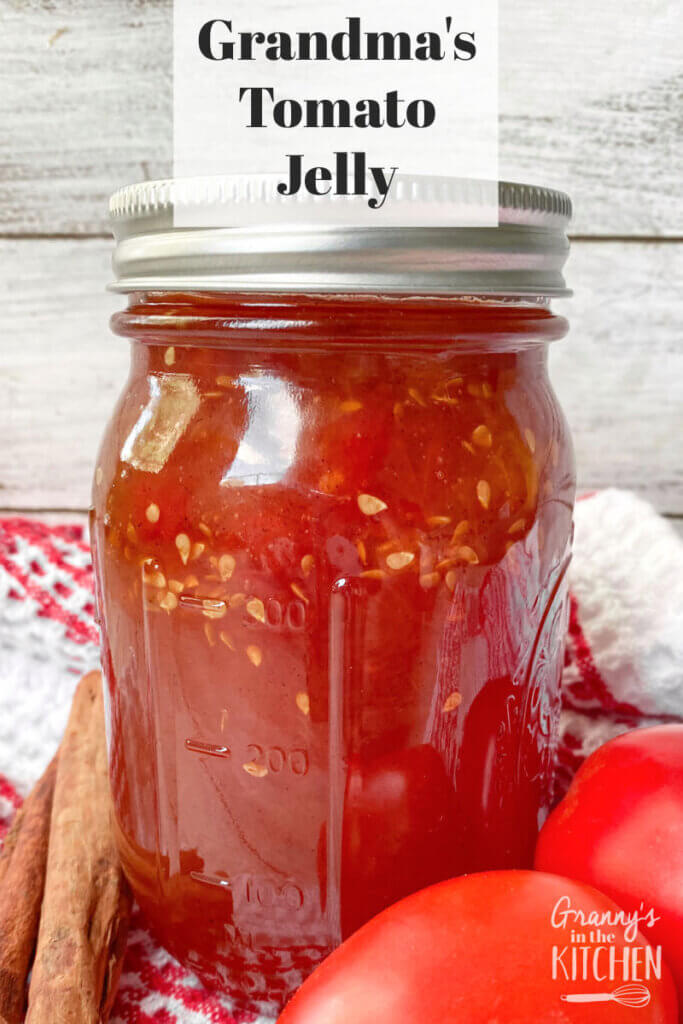
Related: For more fabulous vintage recipes made using Jello products, try our Old-Fashioned Watergate Salad or our Lime Jello Salad!

Rainbow Layered Jello Ribbon Salad Ingredients
For your convenience in re-creating this recipe at home, we’ve included shop-able ad links to some of the products and supplies used. Read our disclosure policy here.
- 6 small boxes of Jello — Pick a variety of colors. Here is what my original recipe recommended: Cherry, Lemon, Lime, Raspberry, Orange, Strawberry
- 2 cups of sour cream
- Water
How easy is that?
Kitchen Supplies Used
- Glass baking dish — Use a 9×13 dish for 6 colors; if using a smaller dish, omit 1 of the layers
- Whisk
- Heat safe measuring cups
- Saucepan
Can You Use Different Colors or Flavors?
Absolutely! The rainbow version is our go-to and I listed the classic flavors used in our original recipe. However, you can swap out other flavors, such as watermelon in place of strawberry, etc.
We’ve also made different versions for holidays, like red and green for Christmas and red, white, and blue Jello ribbon salad for the 4th of July!

How to Make Rainbow Jello
You will be making two layers from each box of jello. Once you do the first set, you’ll have the technique down.
Use a clear Pyrex dish. The 9X13 size dish works great for six colors. If your dish is a little smaller, use 5 colors like I did this time.
I use a 2-cup Pyrex measuring cup to boil my water.
Here we go!
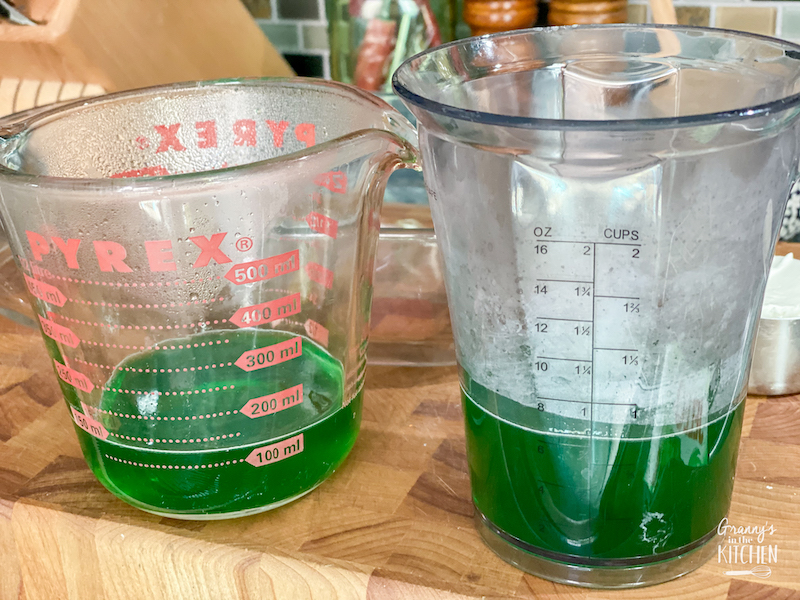
Put one cup of water in your Pyrex measuring cup and boil the water in your microwave. I used the two-minute setting for this.
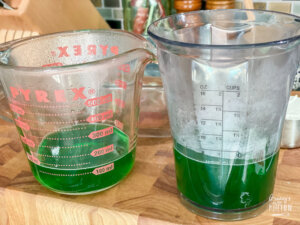
Carefully remove the measuring cup from the microwave and add one package of gelatin. Stir until it is completely dissolved. Then measure out ¾ cup of the jello into a second container.
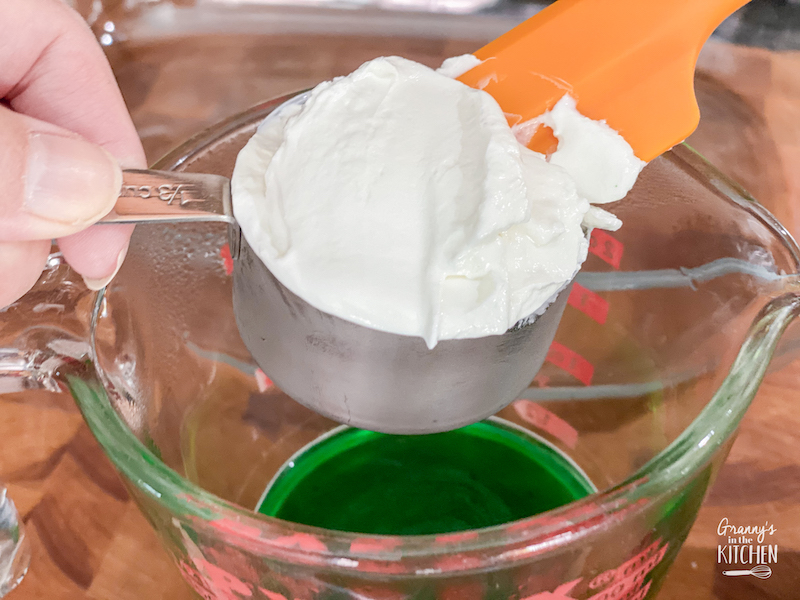
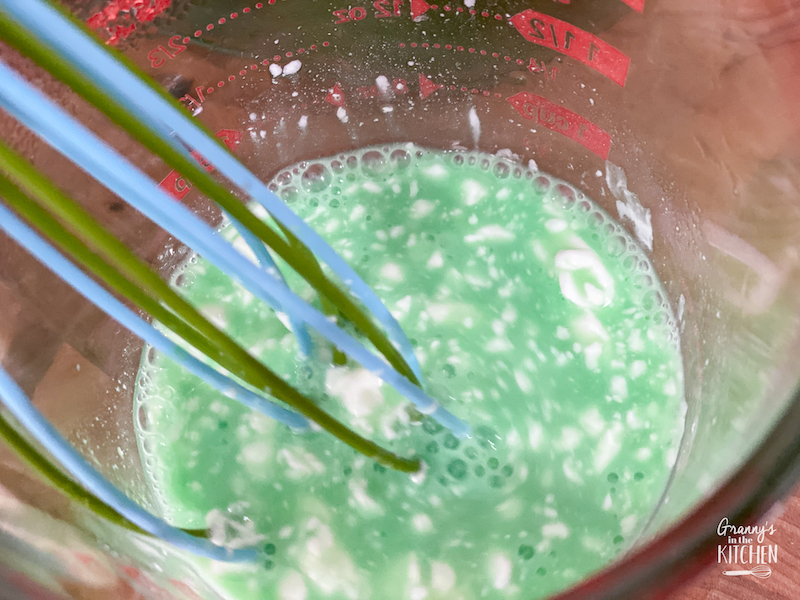
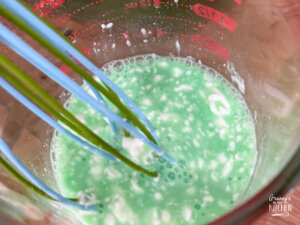
In the container with less jello liquid, add 1/3 cup of sour cream and whisk until it is smooth.
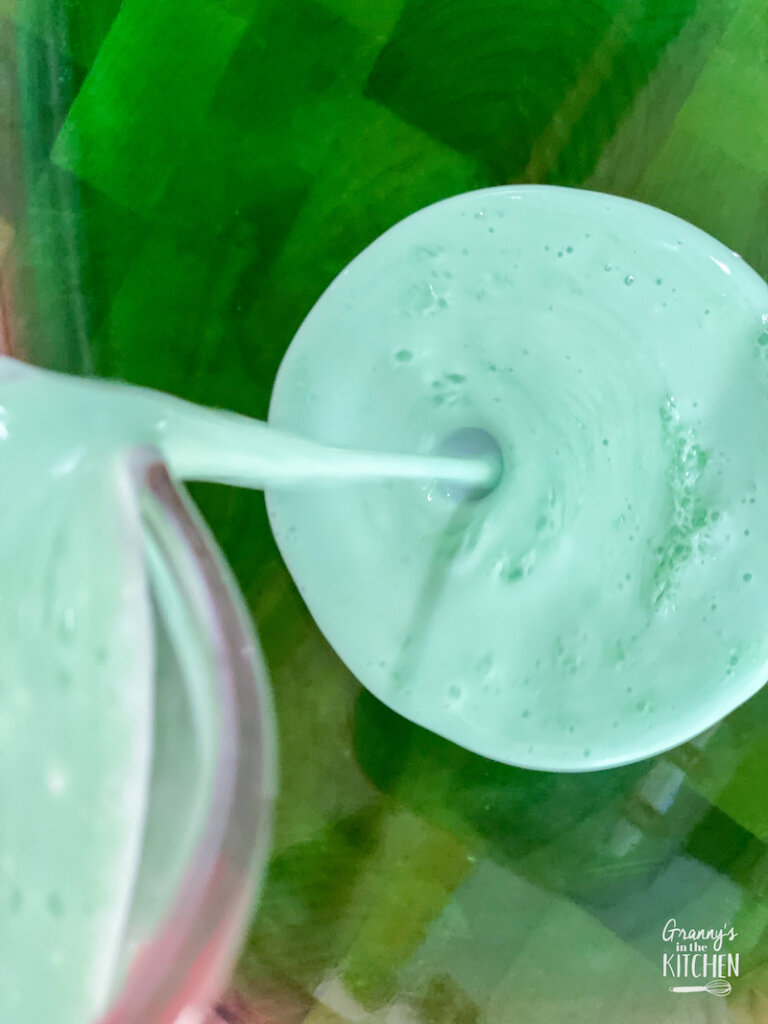
In your original container of green jello, add 2 TB of cold water and mix. Pour this into a 9X13 clear baking dish and refrigerate until set.

After 30 minutes, pull your dish out of the refrigerator and pour the sour cream mixture over the first layer. Ta-da! Now put the dish back into the refrigerator for another 30 minutes to set up.
At this point, I wash out the measuring cups that had the sour cream in them so I can use them to make the next layer. While your dish is chilling in the fridge, you can prepare the next color of jello.
Boil another cup of water and add another package of jello. Stir it in until it is completely dissolved.
Measure off ¾ cup of the jello and add 1/3 cup of sour cream. To the remaining jello add 2 TB of cold water and stir.
Pour the clear jello mix over the top of the set layers. Then half an our later, add the sour cream mixture.
Keep repeating this process until you have all the layers done.
TIP: You can’t hurry this recipe. Give each layer at least 30 minutes to set up. However, you can extend the time between making layers if you need to. But don’t take big break between putting sour cream layer on. It’s fine to sit on counter for 30 to 60 minutes, but you want to get it into the refrigerator.

How to Store Your Jello Ribbon Salad
After the dish is done, you’ll want to cover it. Use foil not plastic wrap. Plastic wrap will droop and stick to the top layer. Foil is sturdier and isn’t as likely to stick.
Keep refrigerated until you’re ready to serve. Your layered Jello dessert should last 3-5 days in the fridge.
Rainbow Jello Recipe (Printable Copy)
If you tried this recipe and loved it, please be sure to rate it!
Want to Save This Recipe?
Enter your email & I'll send it to your inbox. Plus, get great new recipes from me every week!
By submitting this form, you consent to receive emails from Granny's in the Kitchen
Layered Rainbow Jello (Vintage Recipe)
Equipment
- 9 X 13 Clear Pyrex dish
- 2 heat-safe 2-cup measuring cups
- whisk
Ingredients
- 6 boxes Jello (small boxes) Assorted flavors: cherry, lemon, raspberry, lime, orange, strawberry
- 2 cups sour cream Regular
- water
Instructions
Before You Start
- You will be making two layers from each box of jello. Once you do the first one, you’ll have the technique down.
- Use a clear Pyrex dish. The 9X14 size works great for six colors. If your dish is a little smaller, use 5 colors like I did this time.
- I use a 2-cup Pyrex measuring cup to boil my water and a second one for pouring off part of the jello.
Making the Layers
- Put one cup of water in your Pyrex measuring cup and boil the water in your microwave. I used the two-minute setting for this.
- Carefully remove the measuring cup from the microwave and add one package of gelatin. Stir until it is completely dissolved.
- Then measure out ¾ cup of the jello into a second container. To this container, add 1/3 cup of sour cream and whisk until it is smooth.
- To the remaining jello, add 2 TB of cold water and mix.
- Pour this into a 9X13 clear baking dish and refrigerate until set.
- After 30 minutes, pull your dish out of the refrigerator and pour the sour cream mixture over the first layer.

- Place the dish back into the refrigerator for another 30 minutes to set.
- Wash your measuring cups and prepare the next layer of jello the same way you made the first layer -- one cup of solid color jello and one mixed with sour cream.
- Pour the clear jello mix over the top of the set layers. Then half an our later, add the sour cream mixture.
- Keep repeating this process until you have all the layers done.
- Cover with foil and refrigerate.
Nutrition
Pin our Rainbow Layered Jello on Pinterest:
You might also like:

I cannot figure out if the sour cream goes into the potion that’s 3/4c jello mixture or the portion that’s 1/4c.
The sour cream goes in the 3/4 cup jello mixture. I made it wrong once and it tasted fine. Thanks for checking! I’ll go back and make sure it’s clear in the recipe.
is this correct- boil one cup of water- mix gelatin- pour out 3/4 c- ( leaving me with 1/4 c,. adding 2T cold water- so that is one layer???????_ seems you need more then 1/4 c + 2T water for a layer?
Yes, this is the way the recipe is written. It is a thin layer but in the end it all works! The pictures don’t look quite right because I made a mistake with measuring. In the actual recipe, the dark layer is quite a bit thinner.
Can I sub the scream with yogurt?
I’ve only made this with sour cream. When you make this, the sour cream doesn’t make the dish “sour” but instead makes those layers creamy. I think yogurt would add a “tang” to the dish that might be noticeable. But I don’t know that for sure. If you are making it for an event, I’d recommend going with the recipe as is. If there’s no pressure and you’re curious, you could give the yogurt a try. Sara
Love that I found this recipe to re-create my MIL’s famous layer jell-o since her passing. I have made this recipe 3 times over the last 4 months and have a few tips to share. 1. I start with about 1-1/4 c water (1/4 c more than called for) so I have more liquid to work with. 2. I split it about 40/60 – 40% for sour cream and 60% for jell-o only – very imprecise, doesn’t matter too much. 3. I add 4 ice cubes from my fridge ice maker instead of the 2 T cold water. 4. Let it chill a little longer than 30 minutes and give your liquid ample time to cool down before adding the next layer. 5. Don’t pour from the spout of a glass pyrex measuring cup, pour out the side of the cup; this way the stream of liquid doesn’t act like a knife and slice up your pretty layer underneath. 6. For the last layer, use jell-o only (don’t finish with sour cream). It looks prettier in my opinion. And since you’ll have extra jell-o liquid from the last layer, pour it into something else and let your kids taste test. 🙂
I’m so glad you found us! This recipe is a labor of love for sure 💕 Thank you so much for writing out your tips, I will definitely try it your way the next time my family talks me into making this. For anyone reading this–this recipe is always a huge hit for all ages! Sara
I’m making this now for Easter I’m coming across an issue though – I’m now on the 6th later or sk and when I pour the fresh bath on it’s melting the last layer I think because it’s blending together- maybe my boiling water is to to hot?
Yes, sounds like it would be a good idea to let it cool a little longer before adding layers.
I’ve been making this since the 70’s.
Tips:
Chill the 13×9 dish for 30 minutes, first. The first layer will set quicker, rather than waiting for the dish to cool down, first.
I’ve split it 2/3 in the sour cream layer and 1/3 +2T in the clear layer. It’s not critical. Less water makes it more like the Jigglers recipe, so if you’re cubing it for grabbing, it’s probably better with the 3/4 and 1/4 ratios.
Put the sour cream layer down first, not the clear layer. You’ll end up with a clear layer at the top.
Slowly add the hot jello to the sour cream, a little at a time, pausing to mix it in, like you’re adding stock to flour to make gravy, and that cuts down on the lumps of sour cream while you’re mixing, as well as keeping you from beating it into a bubbly froth.
Check your fridge for level. If it’s not, either shim the dish when you put it back in, or always put the same end of the dish in first, so the layers are all even, otherwise you end up with wedges. Not bad if that’s what you intend, but it looks funny.
I’ve gone as low as 20 minutes between layers. Use a spoon or spatula under the stream as you’re pouring, to keep it from punching through a layer, and move where you’re pouring around to keep one spot from getting too warm. Don’t pour at the edge, or from too high up. Lower layers aren’t so critical.
Pop any bubbles that form after pouring. Tiny ones are fine.
Put darker colors at the bottom. Lighter layers will combine color with a darker layer immediately below it, so the green you get from berry blue and lemon doesn’t look right.
Thanks for all the tips! This recipe is always a crowd pleaser but it takes a lot of attention. I really appreciate the time you took to clarify the directions for Jello Ribbon Salad. Sara
I have made this recipe some times and enjoyed the reactions of others to the sight and taste. It does take the day to make…it’s worth the time and effort occasionally.
The Vintage Jello Ribbon Salad always gets a lot of oohs and ahs. Thanks for letting us know how it turned out for you! Sara
I make this every year. It been my kids favorite since they were little and is still the favorite.
It was my favorite as a kid too! –Stacey
A lady from our church made this salad for nearly every potluck. I always looked forward to it. Maybe I will take over the tradition now. Thanks for sharing this recipe!
It is always a hit wherever I’ve served it! Sara
the way its measured there is no way 1/4 will cover a 9×13..
It’s 1/4 + 2 TB of water. It’s a thin layer but it does cover in that size dish. Even if it’s uneven, by the time you’ve done all the layers it all works out. I’ve been making this for 20+ years. The thin layer adds a pop of color and flavor without being too much. Sara